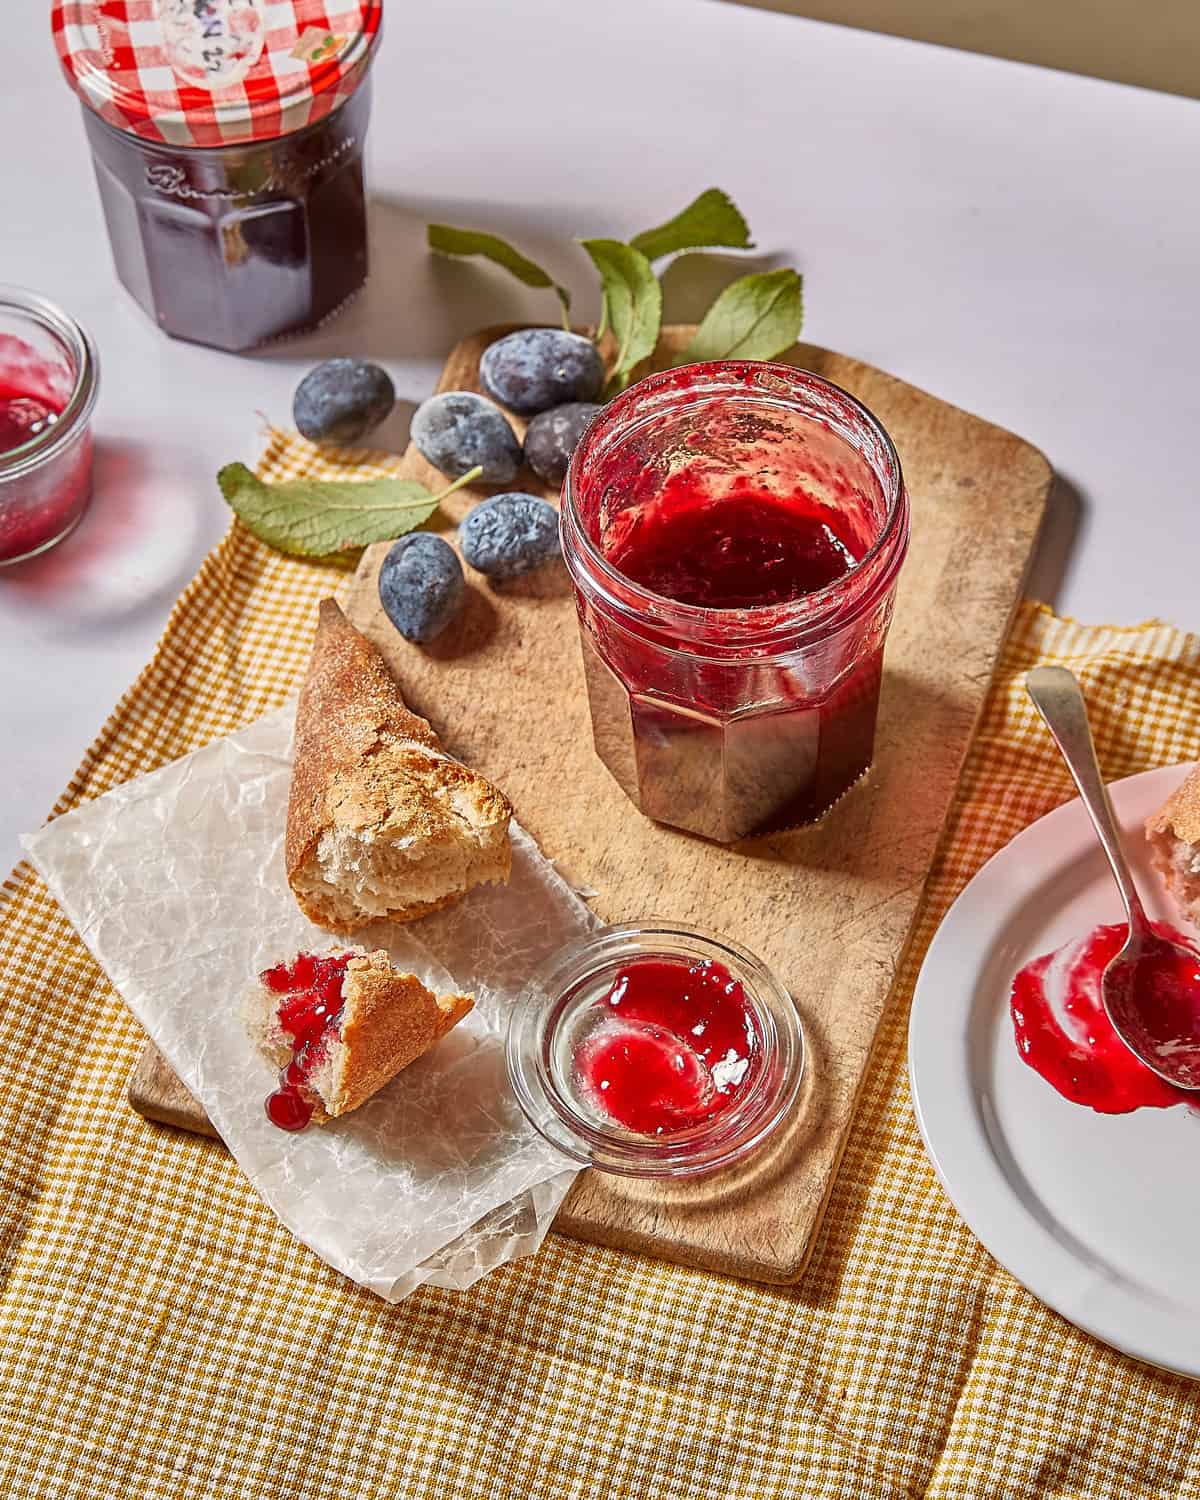
With its vibrant colour and sharp flavour, damson jam is a great way to use those super sour damson plums in a delicious way. I think this is the best damson jam as it’s not too sweet – I use a lower amount of sugar which means that you get a more tart & fresh flavour in this jam (however if you prefer a more classic level of sweetness, you can easily use more sugar).
You can read below the recipe card (or use the table of contents) to see the step-by-step on how to make damson jam & find out answers to common jam-related questions, too.
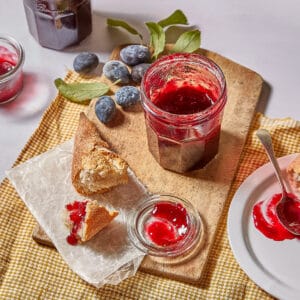
Damson Jam
Ingredients
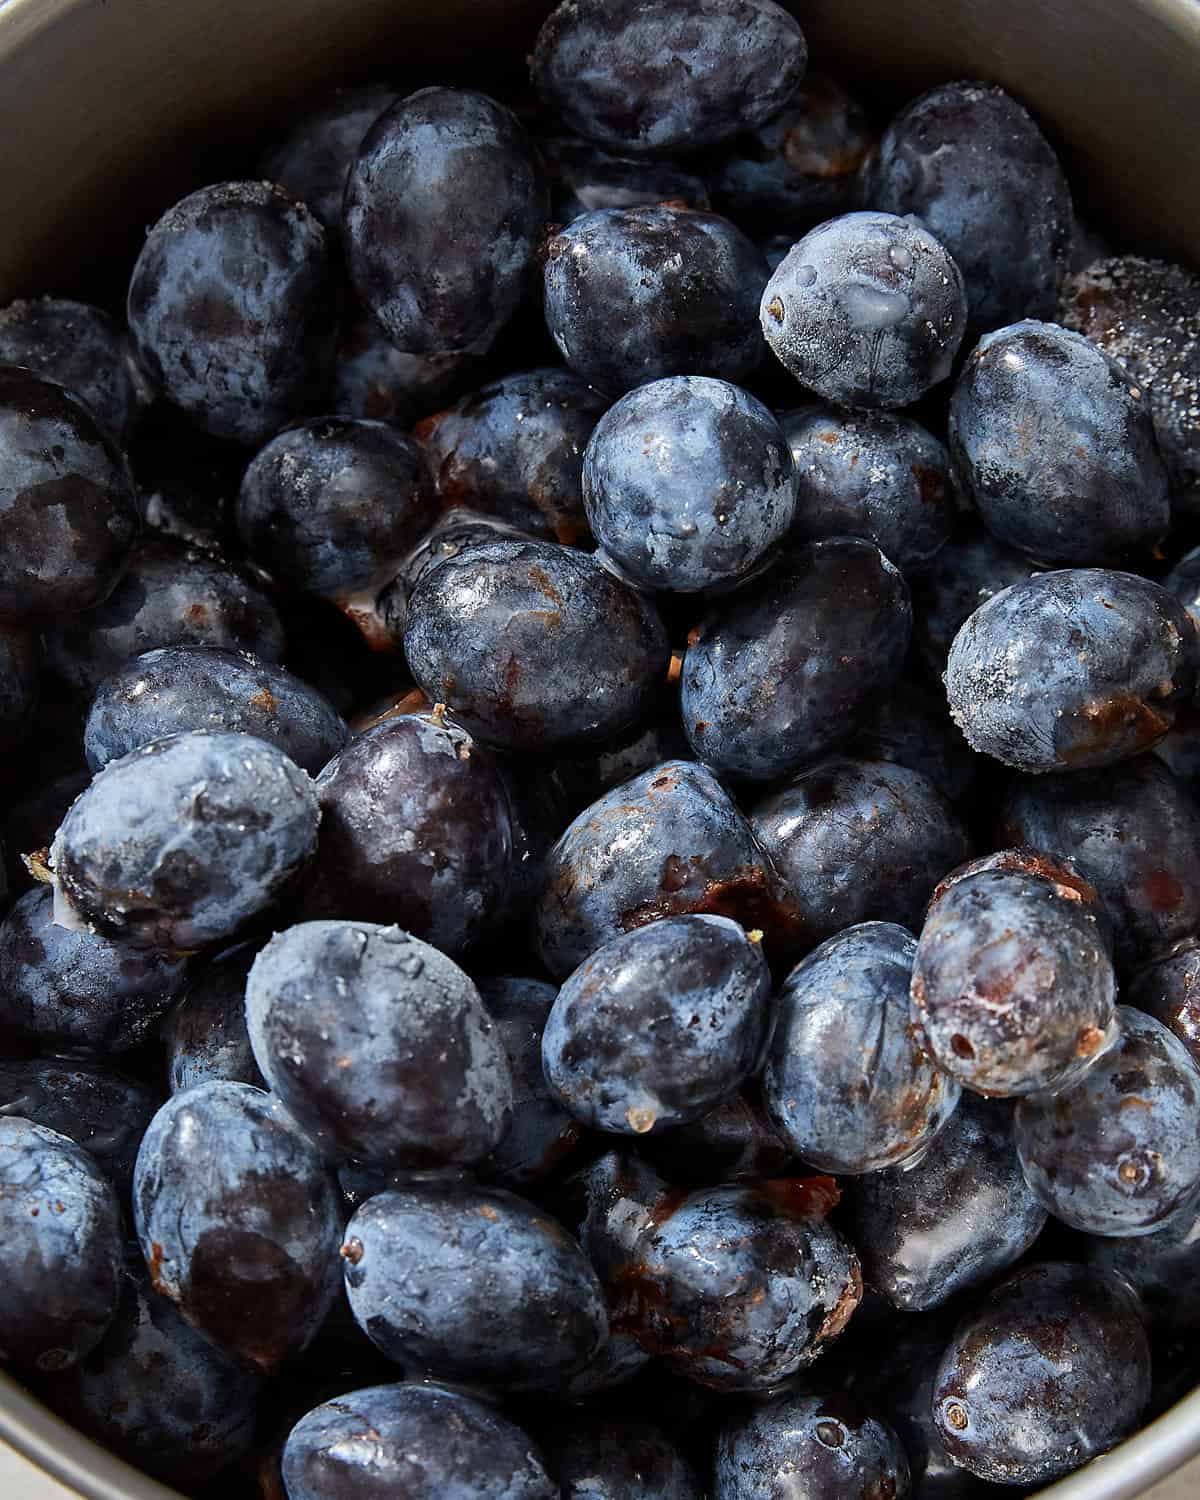
- 1.5 kg damsons, fresh or frozen (weighed with their stones in)
- 150 ml water
- 600 g granulated sugar see notes if you prefer a sweeter jam
Instructions
- Place a few small plates into the freezer (you'll use these for the 'wrinkle test' later on).
Sterilise the jars:
- Clean the jam jars and their lids thoroughly in very hot, soapy water and rinse well with hot water. Set the lids aside somewhere clean to dry. Place the jars (but not the lids) upside down on a baking tray and into the oven for 5-10 minutes until they're dry. Leave them in the switched-off oven so they stay warm as you make the jam.
Simmer the damsons:
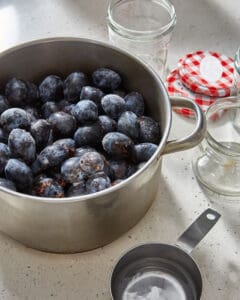
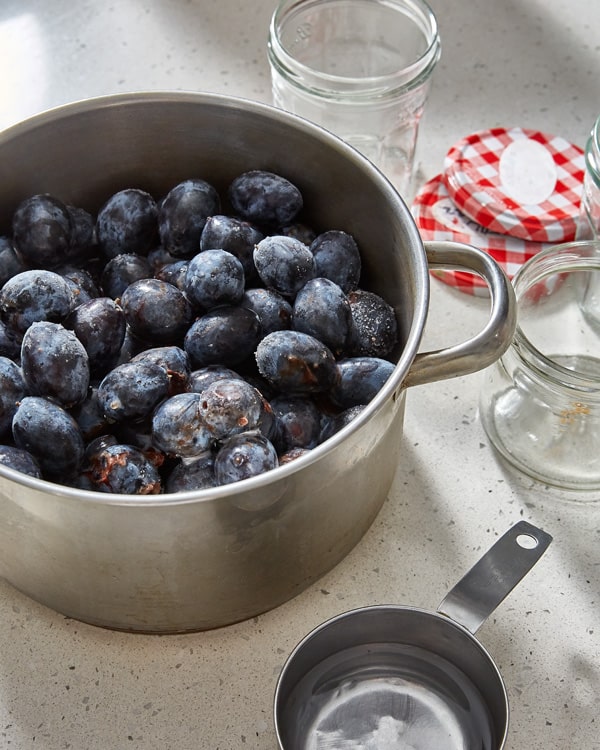
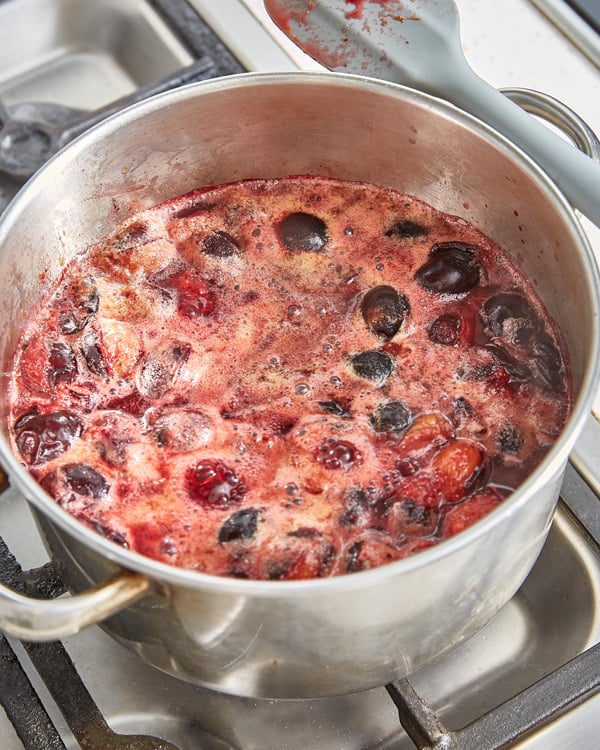
- Place the damsons and water into a large pot. Cover with a lid and bring to a simmer. Simmer for 15-25 minutes or until the damsons are soft and starting to break down (the time will depend on their ripeness & if they were frozen or fresh). I like to give them a gentle mash in the pot as they simmer to help release the pits from the fruit. Remove from the heat.1.5 kg damsons, fresh or frozen, 150 ml water

Pass through a colander to remove the pits:
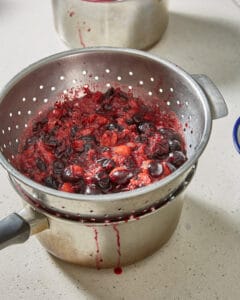
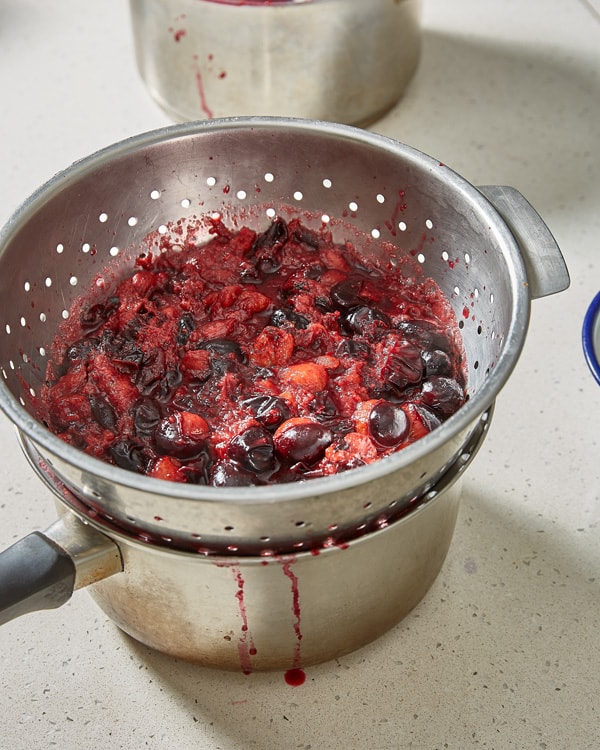
- Place a colander over a clean, large pot. Pour the damsons & any liquid from their pot into the colander. Use a silicone spatula or large spoon to push the damson flesh through the holes of the colander. Keep pressing and smushing the fruit against the sides and base of the colander until you think no more puree can pass through. The damson pits & much of the damson skin will be left in the colander which you can discard (or see notes below for how to use them to make damson gin).

Cook damson puree with sugar:
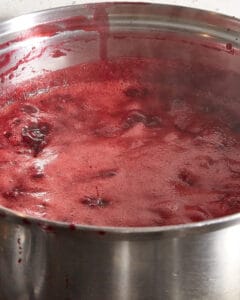
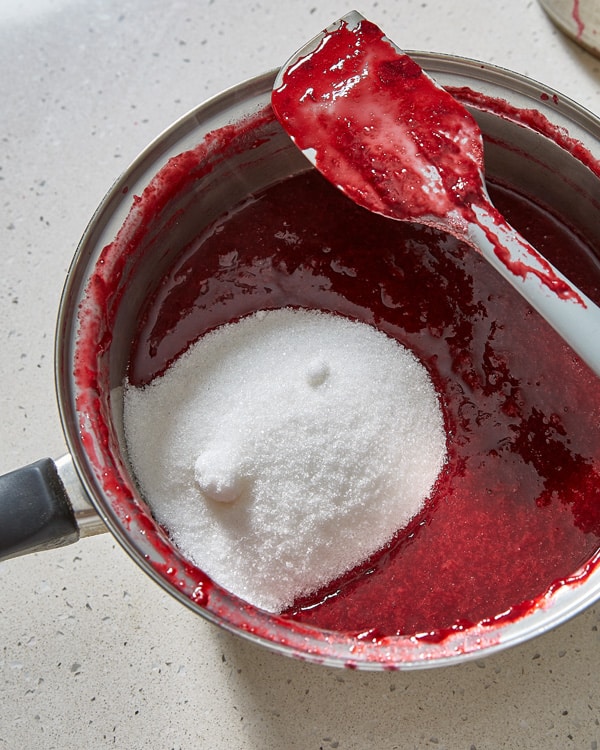
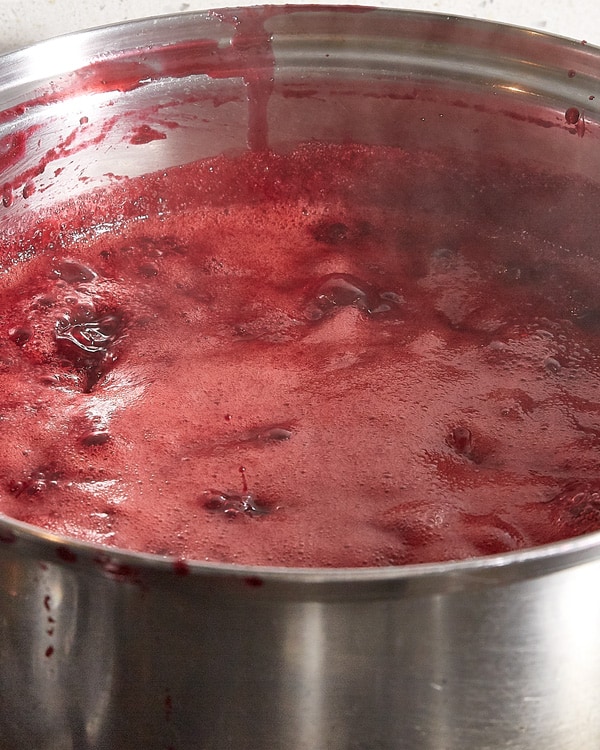
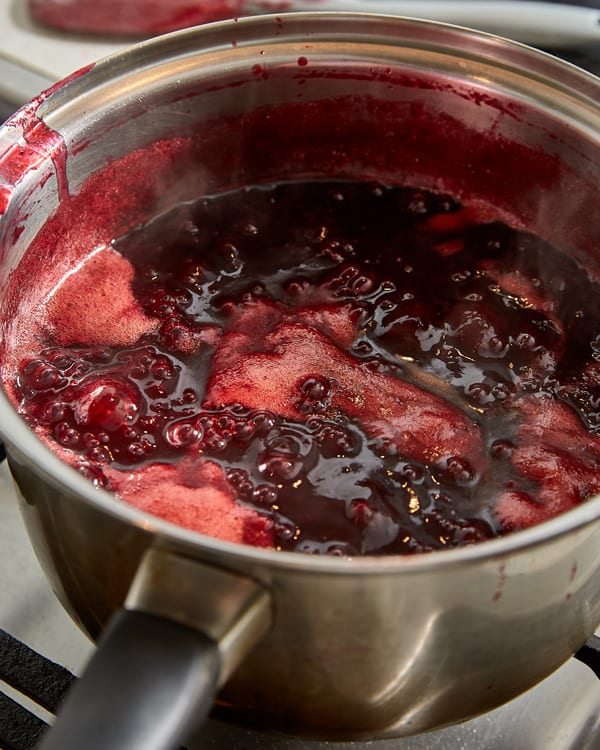
- Add the sugar to the large pot of damson puree and stir together. Place over a medium heat on the stove and stir often (this helps the sugar dissolve & stops it catching & burning) until the mixture is gently bubbling.600 g granulated sugar

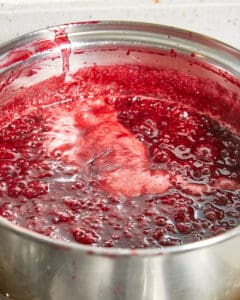
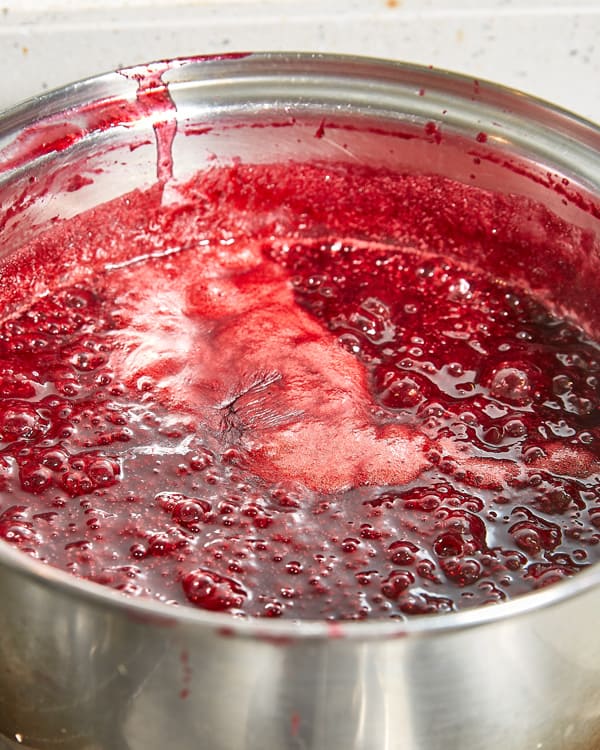
- Turn the heat up so the jam starts to boil – at first there will be some light foaming on the surface but this will mostly subside & larger, glossy bubbles will begin to form as the jam thickens. Keep cooking it, stirring occasionally, until the jam passes the 'wrinkle test' (see next step) – around 12-20 minutes of boiling time.

The Wrinkle Test!
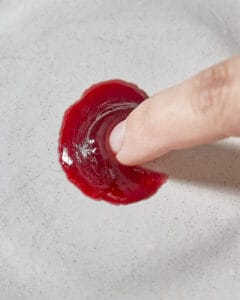
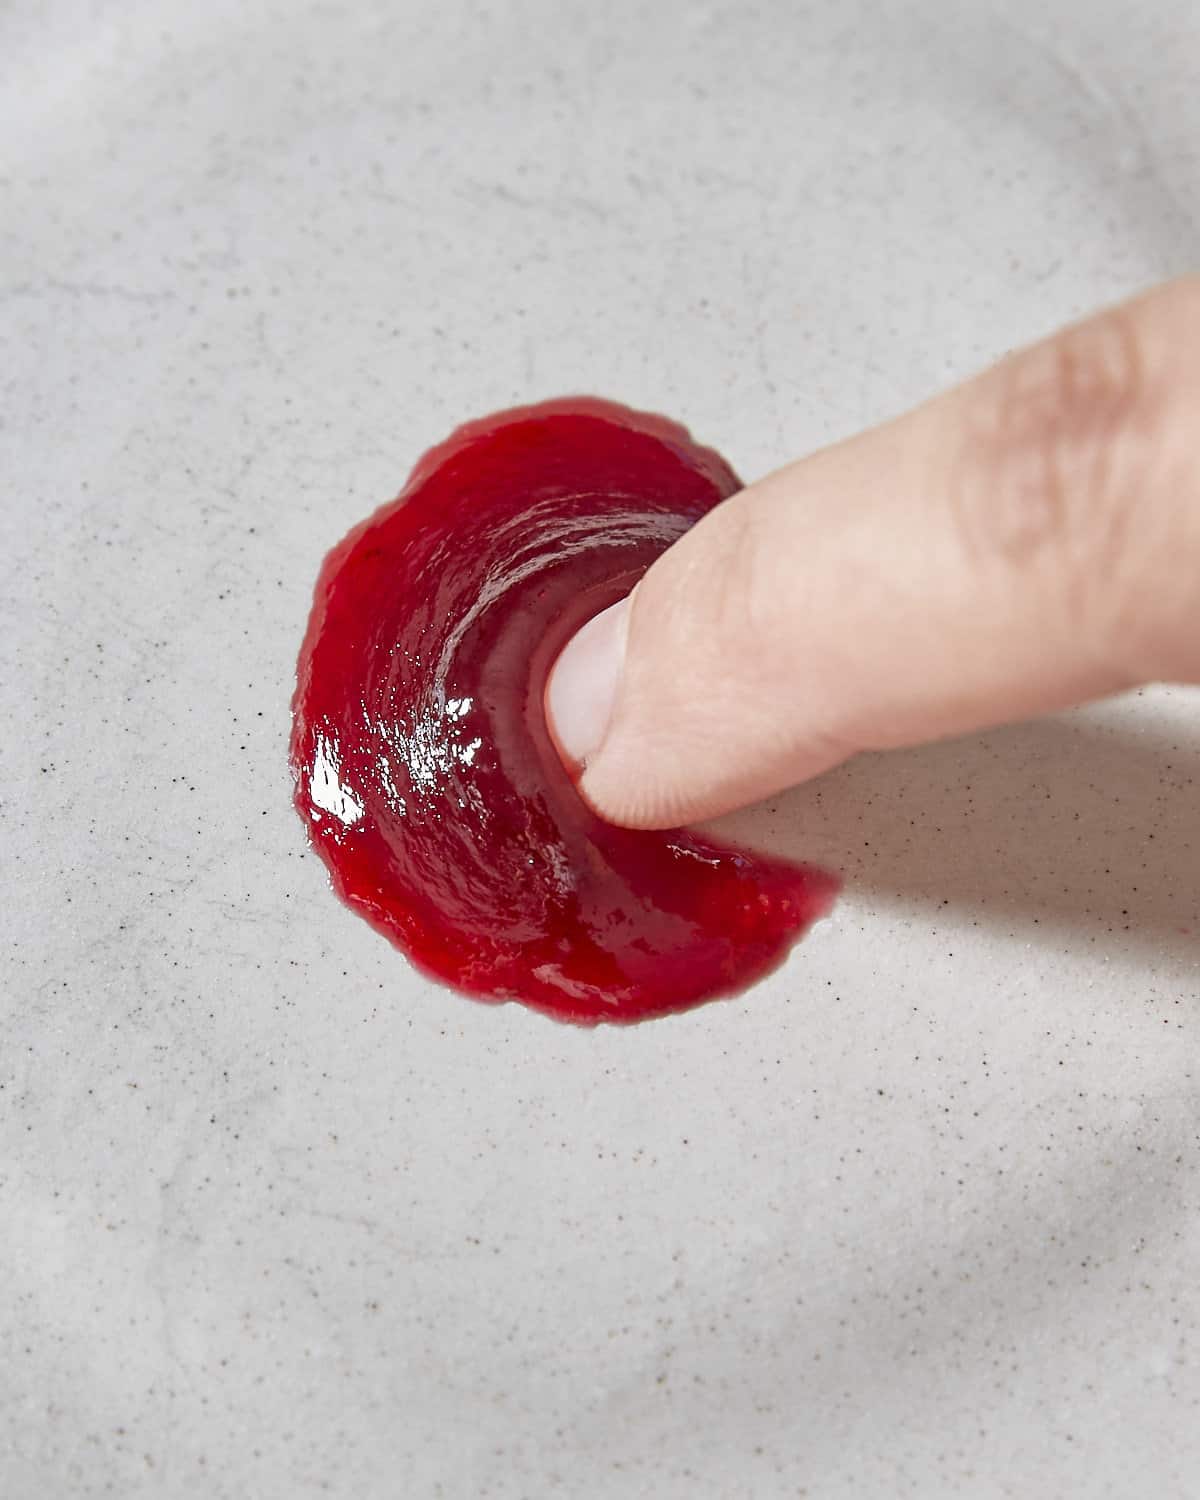
- Remove one of the small plates from the freezer. Take a small spoonful of jam and pour onto the cold plate. Let it sit for 30 seconds then slowly push your finger through it.

- The jam is ready when (A) the surface of the jam has a 'wrinkly' texture as you're pushing your finger through it and (B) the resulting line you've made in the jam remains there.
- If the jam doesn't pass the wrinkle test, cook it for 2 more minutes and try again with a fresh plate from the freezer.
Transfer to jam jars:
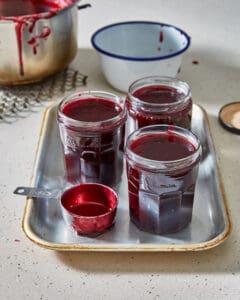
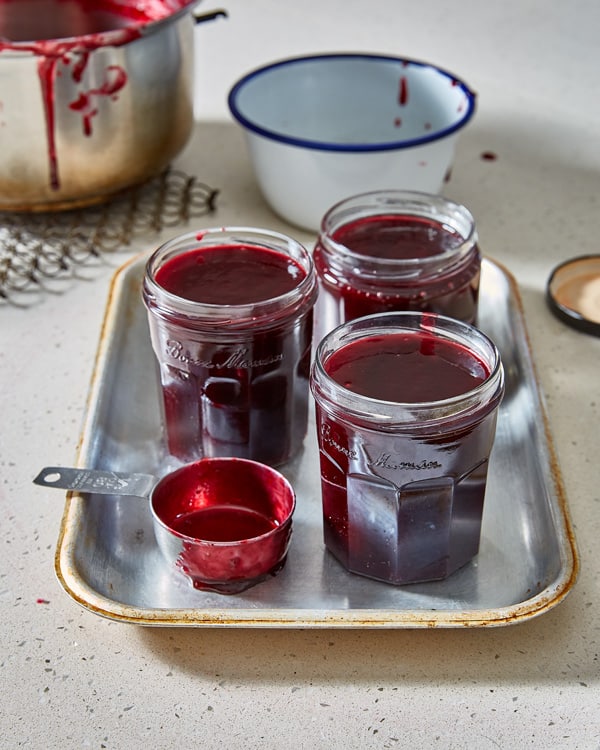
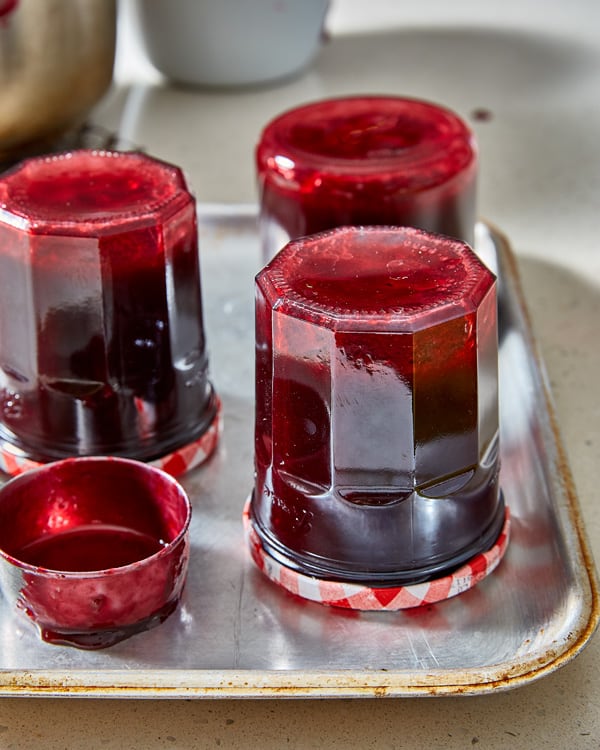
- Pour the hot jam into the prepared jam jars – for this quantity of fruit I get around 3 Bonne Maman jars worth (each with a 370g capacity). You'll want to pour the jam so it's roughly 1 cm from the top. Screw on the lids tightly then invert the jars for 1 minute. Flip them right side up and leave them alone for 24h. to cool and set.

- Store the jam in the jars somewhere cool & dark for up to a year. Once opened, keep in the fridge.
Notes
Nutrition
How to make damson jam – step by step images
Step 1: Simmer the whole damson with water until tender
Step 2: Pass cooked damsons through a colander to remove skins & pits
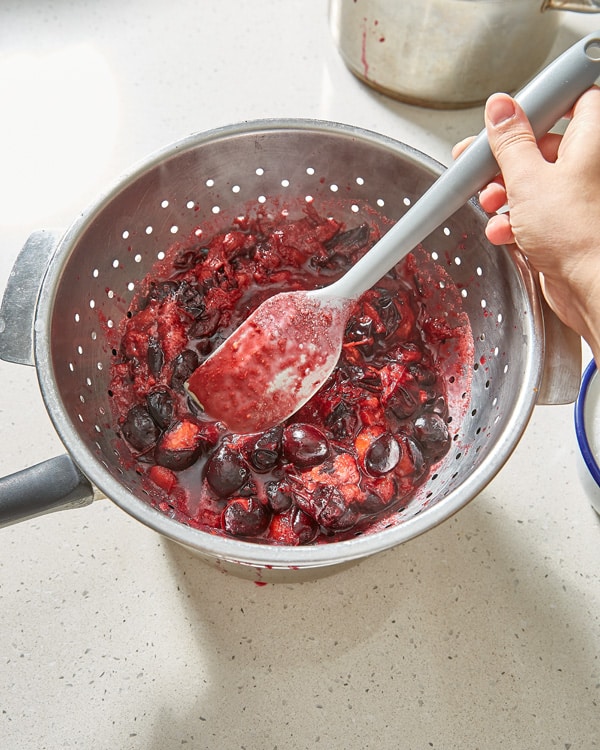
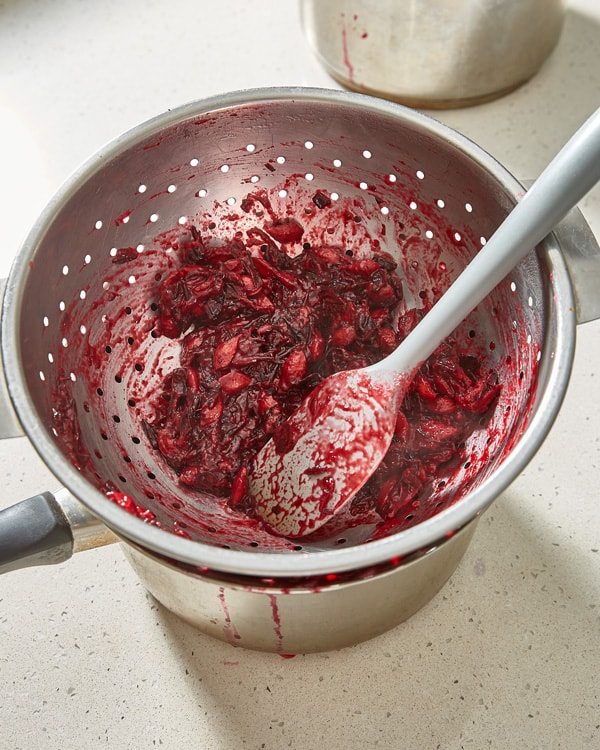
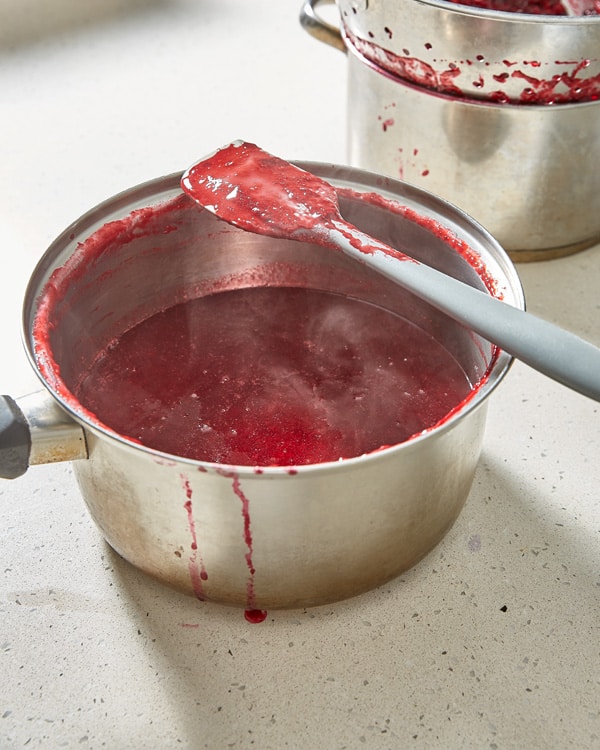
Step 3: Add sugar and cook the jam
Step 4: The Wrinkle Test
Step 5: Decant into sterilised jars
What is damson jam?
Damsons are a type of plum which is common in England – they’re smaller than standard plums and have a much more acidic flavour, astringent skins and stronger plummy notes. Because of this, they’re perfect for baking with as they’re best when cooked down with some sugar to balance their sharpness.
As such, jam is a perfect way to use these lovely fruits! Damson jam is a preserve made by cooking damson plums with sugar until the natural pectin in the fruit thickens the fruit puree. Once cooled, the jam sets into a thick, spreadable paste which will keep for many months.
Comparing different amounts of sugar
As damsons are quite tart, they create a lovely sweet & sour jam. I definitely prefer my jam to be on the more-tart end of the scale so I usually like the ratio of fruit to sugar to be 2:1 (e.g. 1kg fruit to 500g sugar). I have used that ratio here which makes the jam a relatively low-sugar version compared to most I’ve seen. The weight of whole damsons used is 1.5kg but that gives us around 1.2kg of fruit puree once the stones & skins are removed. That means that I’ve added 600g of granulated sugar for this quantity of damsons. If you prefer a sweeter jam, you can of course increase the sugar to a more standard 1:1 ratio, meaning that for 1.5kg whole damsons, you’d need around 1.2kg granulated sugar.
I’ve compared a few recipes and have found that the sugar levels vary from recipe to recipe:
- River Cottage: Hugh Fearnley Whittingstall says to use 2kg whole damsons to 2.3kg sugar (along with 800ml water). He uses a slotted spoon to scoop out the pits from the cooked damsons before you add the sugar, which is a great idea.
- Nigel Slater: his recipe uses 1kg whole damsons and 1kg sugar (plus 250ml water). He only removes a few pits at the very end of making the jam, leaving most of them in the jar.
- Nigella: although there isn’t an official recipe, an article on her website states to use an equal weight of sugar to the weight of fruit pulp once you’ve removed the pits.
- BBC Good Food: this recipe uses equal weights of fruit and sugar, plus a bit of butter! Similar to Nigel’s, they don’t really bother removing the pits.
- Delia Smith: As far as I could see, there is no recipe from Delia for a damson jam BUT she does have a lovely recipe for damson chutney which I’d definitely like to try next year.
Remove the stones from damsons easily & quickly with this trick!
Damsons are delicious but their downfall is that, as they are a type of plum, they have a pit in the centre. As they’re quite small fruits, removing the pits from a whole pot full of damsons is a task no one particularly enjoys!
My method of stone removal is simple, quick and effective. First, we simmer the whole damsons with some water until they’re super soft and the fruit is falling off the pits. Then we push the resulting mushy damsons through a colander into a new pot. By doing this, the colander prevents any of the stones from passing through into the clean damson puree below. It also removes a lot of the skins and makes for a smoother jam in the end.
You can use a metal sieve (strainer) for this but I find that the smaller holes of the sieve mean that this straining step takes longer.
Do I need to add pectin to damson jam?
Damsons are naturally quite high in pectin & quite acidic so there should be no need to add extra pectin or lemon juice to your jam for it to set properly.
Why is my damson jam not setting?
As damsons are naturally high in pectin, it’s likely that your damson jam isn’t setting because it hasn’t been cooked for long enough. In order to ‘activate’ the natural pectin in the damsons, the mixture needs to be cooked enough – usual recommendations are to cook until it reaches 105°C (221°F) however, using a thermometer isn’t a fool-proof method for testing if jam is ready or not. Usually it takes around 10-20 minutes of the damson jam boiling for enough of the pectin to be released from the fruit.
You can test that the jam is cooked enough by using the wrinkle test whereby you take a small spoonful of the hot jam from the pot and pour it into a puddle on a cold plate (I put some plates in the freezer when making jam so I have them ready to go). Once the jam has cooled for 30 seconds on the plate you slowly push your fingertip through it. If the surface has a lightly wrinkly appearance, the jam is ready. If it doesn’t, keep cooking the jam for a couple more minutes more then test again!
Can I use frozen damsons?
Yes! In fact it’s probably even quicker when you use frozen damsons as, when heated with the water, they will start to break down quicker than fresh ones.
How long does damson jam last?
If the jam is jarred in properly sterilised jars, it should keep (un-opened) in a cool, dark place for around a year, just look out for mould growth when you open up a new jar! It may even last longer than a year but the flavour and colour may start to deteriorate after 12 months.
When you’ve opened a jar it should be kept in the fridge. It can last for many months in the fridge like this but again, just look out for any mould growth on the jam surface or sides of the jar.
What can I use damson jam for?
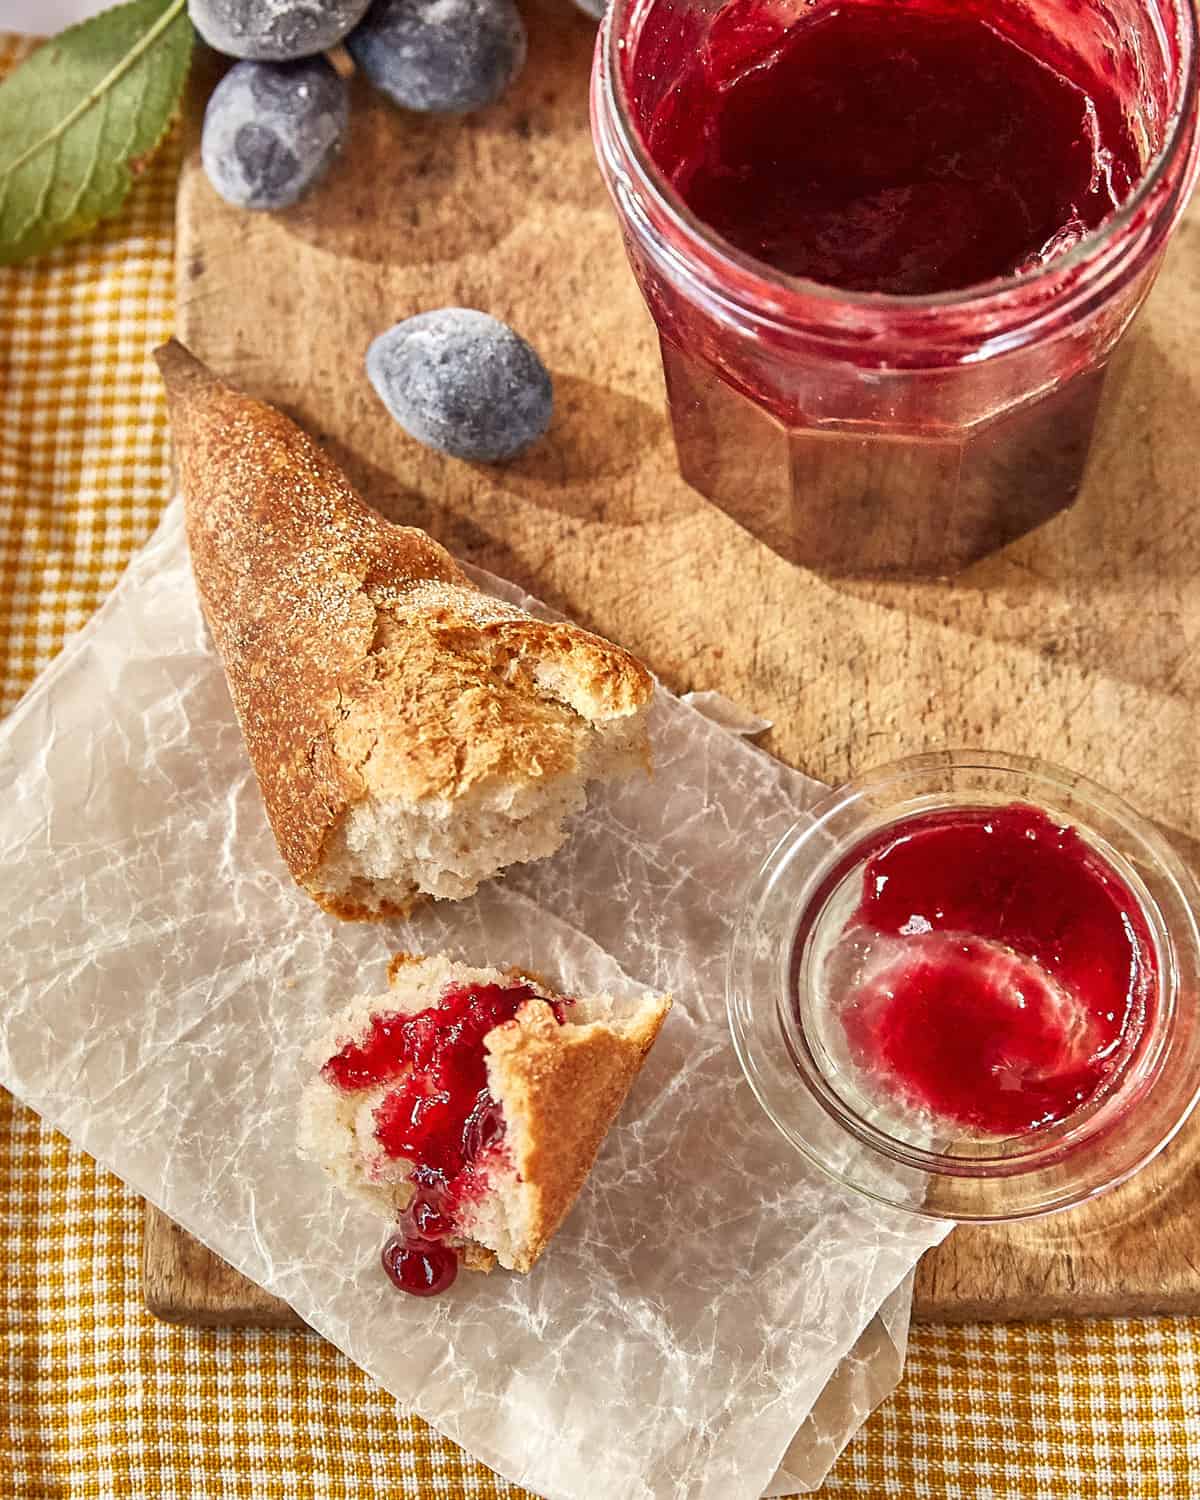
With its rich, sharp flavour, damson jam is really lovely to use in all sorts of recipes. You can of course use it for the obvious things: spreading on toast, serving with scones, croissants or pancakes. Apart from that, here are some other ideas:
- I think it works deliciously in place of cherry jam in the base of a bakewell tart!
- You can use it underneath fresh fruit in fruit galettes, or use it for brushing onto fruit tarts instead of apricot jam.
- Use in the filling of a Victoria sponge, along with whipped cream
- Mix into cocktails for flavour & sweetness – e.g. you can add a spoonful of damson jam to a cocktail shaker with some gin and lemon juice, shake it up, pour over ice and top up with sparkling water for a damson gin fizz.
- Use to make fruity vinaigrettes – shake in a jar with some mustard, salt and plenty of extra virgin olive oil for a fruity damson salad dressing.
- Use as a filling for babka or chelsea buns
- Swirl into brownie batter
- Spoon into the centre of muffin batter before baking for a jam-filled muffin


