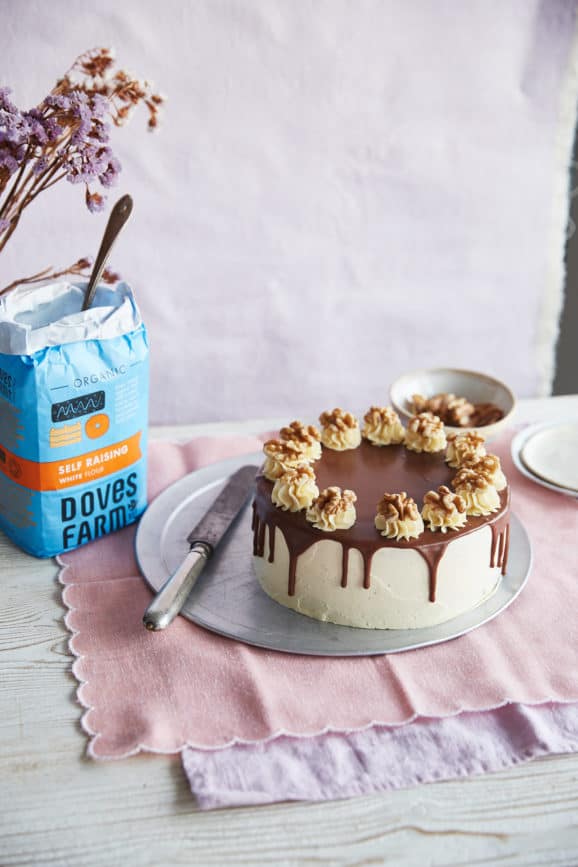
Thanks to Doves Farm for sponsoring this post. Doves Farm has a new feel-good, colourful look, which celebrates the joy of home baking. To celebrate this, I’m sharing 2 of my favourite feel-good recipes.
As I’ve been stuck at home in London since March, a trip to visit my boyfriend’s family in Hampshire this weekend will be a welcome change! I made this cake, inspired by the Walnut Whip, for my boyfriend’s mum’s birthday to bring along too – I’m always travelling with cake or cookies (or even sometimes cookie dough) for celebrations.
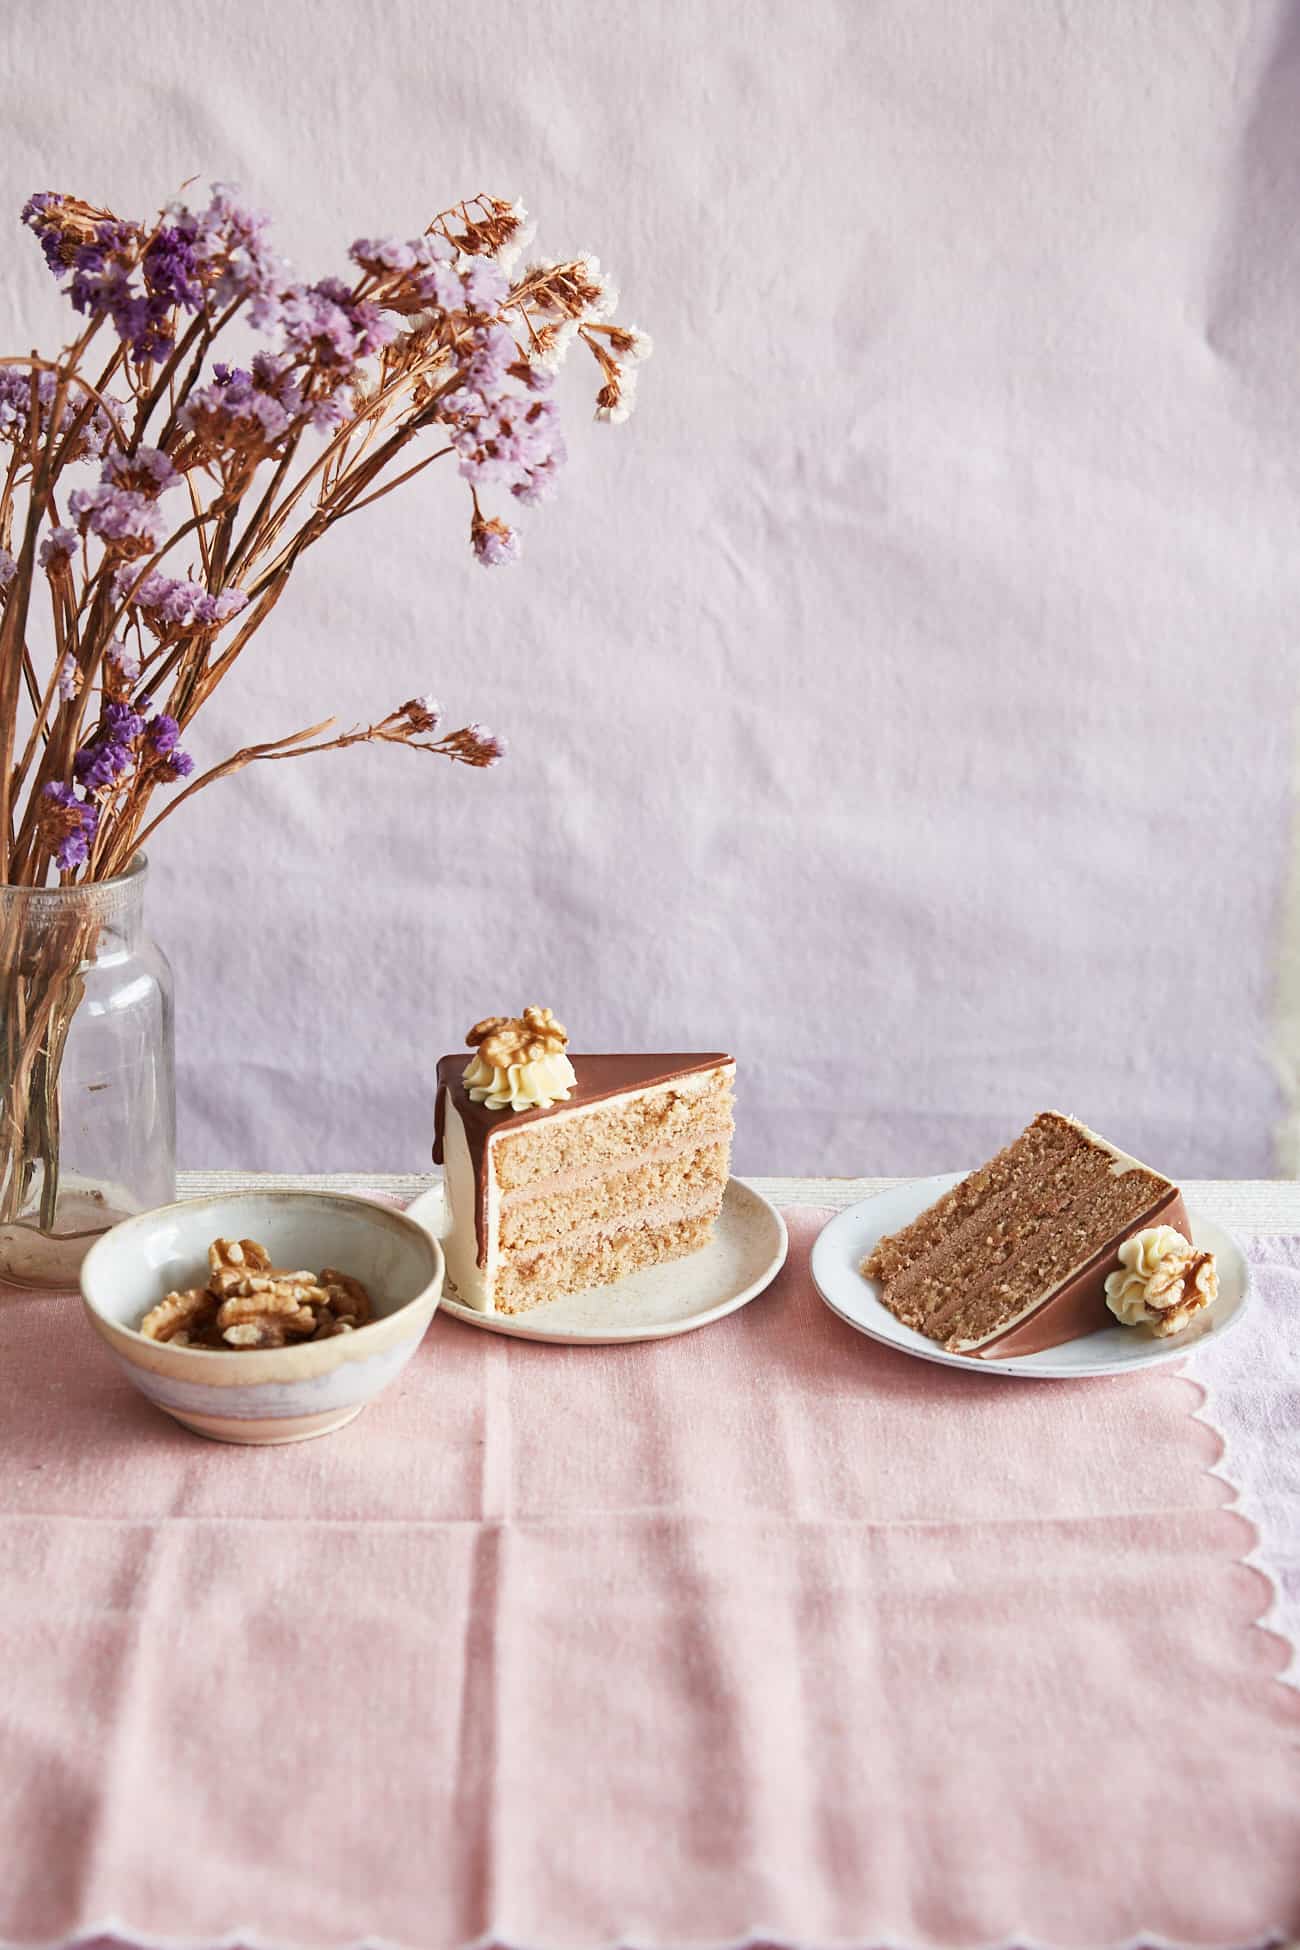
I started with a classic Victoria sponge cake base but swapped in some ground walnuts for added texture & flavour. The remaining sponge is just butter, eggs, sugar and self-raising flour! Super simple to make! I used Doves Farm Organic Self-Raising White Flour in the sponge which simplifies things (no need to add raising agent) but also, I find, makes the cakes extra light and soft. A little extra tip I’ve recently discovered is that when making vegan cakes, using self-raising flour will really help you get the fluffiest texture (which can sometimes be lacking in vegan cakes).

I love using Doves Farm flour range for baking with as I know it’s easy to get (the self-raising flour is available from Sainsbury’s, Ocado, Tesco & dovesfarm.co.uk) and is always high quality. They’re my go-to when I need to get a specific type of flour (e.g. pasta flour, buckwheat flour or rye flour) as they have 20 different flours in their range! And since I bake *quite* a lot with all types of flours, they’ve been a staple in my baking cupboard for years.

For the filling and drip-glaze on the cake, I went for a milk chocolate ganache. You only need to make one bowl of ganache – some you leave at room temp so it remains pourable. The rest you chill so it firms up and then whisk until it’s light and fluffy for sandwiching the cake layers together.
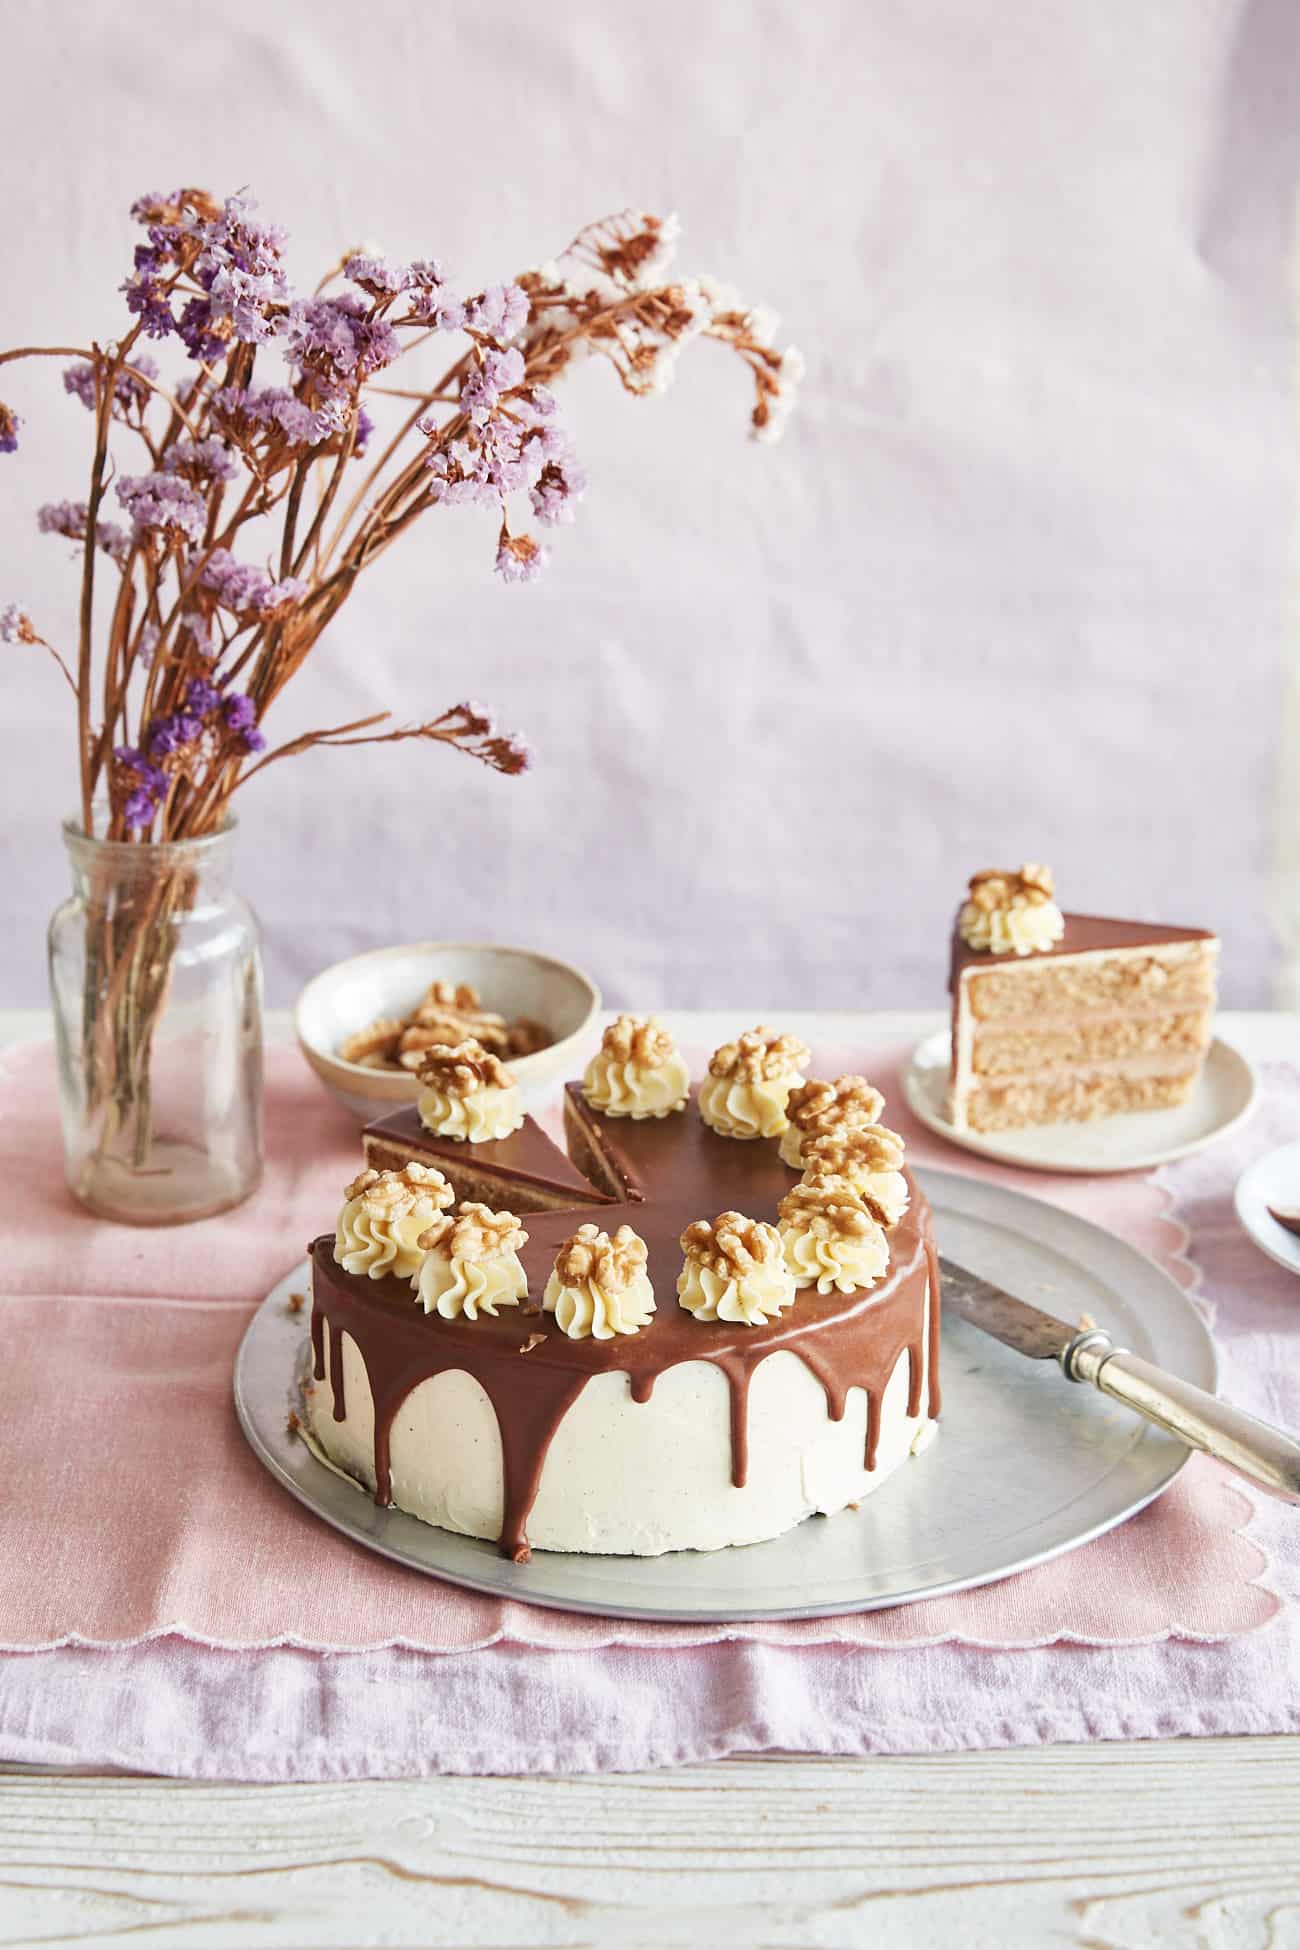
The last element is the outer frosting – a vanilla Swiss meringue buttercream – which basically tastes like eating a cloudy marshmallow with a hint of buttery richness to it. Just perfect for this cake! I even used some of the leftover buttercream to pipe little rosettes on top of the cake and topped each one with a walnut. I love cute, simple ways to decorate cakes like that.
Hope you give it a go and happy baking.
Stockists for Doves Farm Organic Self-Raising Flour – Sainsbury’s, Ocado, Tesco, & dovesfarm.co.uk

Walnut Whip Cake
Ingredients
Walnut cake:
- 250 g unsalted butter , softened
- 230 g granulated sugar
- 4 large eggs
- 100 g walnuts
- 150 g (1¼ cups) Doves Farm Organic Self-Raising White Flour
- 1/4 tsp fine grain salt
Chocolate ganache:
- 200 g milk chocolate
- 200 ml double cream
Vanilla swiss meringue buttercream:
- 2 large egg whites
- 110 g (1/2 cup) granulated sugar
- 160 g unsalted butter , very soft
- 1 tsp vanilla paste or vanilla extract
- Pinch fine grain salt
Instructions
For the walnut cake:
- Preheat the oven to 180°C (350°F) fan. Grease and line three 6-inch round cake tins. If they’re loose-based tins, place them onto a couple of baking sheets.
- Cream the butter and sugar together until light and fluffy. Add the eggs one at a time, beating between additions.250 g unsalted butter, 230 g granulated sugar, 4 large eggs
- Pulse the walnuts in a food processor or blender until they break down into a fine mealy texture (like ground almonds).100 g walnuts
- Add the ground walnuts, Doves Farm Self-Raising Flour and salt to the bowl. Fold together until no floury patches remain.150 g (1¼ cups) Doves Farm Organic Self-Raising White Flour, 1/4 tsp fine grain salt
- Divide the batter between the 3 cake tins evenly and spread out in the tins evenly. Bake for 25-30 minutes until the cakes spring back when poked (or when a toothpick inserted into the centre of the cakes comes out clean).
- Allow the cakes to cool in the tins for 10 minutes before running a butter knife around the edge to loosen and tipping them out of the tins to a wire rack so they can cool completely.
- Once completely cool, use a serrated knife to trim off any domed tops on the cake layers so they are level. Remember to remove the circle of baking paper from the bottom of each layer as well.
For the chocolate ganache:
- Chop the milk chocolate up into small pieces and place into a heatproof bowl.200 g milk chocolate
- Heat the cream in a small pot until gently steaming then remove from the heat and pour over the chocolate in the bowl. Ensure all the chocolate is submerged in the cream and set aside for 5 minutes. Once the 5 minutes is up, stir together until smooth.200 ml double cream
- Remove about 100ml (a scant 1/2 cup) of the ganache and set aside at room temperature.
- Chill the remaining ganache for 45-60 minutes until it iscompletely cool and starting to thicken. Use an electric whisk (either a stand mixer or a hand held whisk) to whip the ganache until pale and fluffy.
For the vanilla Swiss meringue buttercream (SMBC):
- Place the egg whites and sugar in a large, heatproof bowl. Set over a small pan of simmering water, making sure the bottom of the bowl isn't touching the water, and stir often. We want the sugar to dissolve and the whole mixture to warm up. Keep stirring until the mixture measures 71°C (160°F) on a kitchen thermometer.2 large egg whites, 110 g (1/2 cup) granulated sugar
- Remove the bowl from the heat and whisk until very thick, pale and completely cooled to room temperature (you can do this in a stand mixer with the whisk attachment or you can do this with handheld electric beaters).
- Once completely cool you can start adding the butter. It’s important you do this very gradually and that the butter is soft so that the mixture can emulsify properly.160 g unsalted butter
- With the mixer running on a medium speed, add the butter one or two cubes at a time, allowing them to become completely mixed in before
adding a couple more butter cubes. Continue like this until all the butter has been added. It may look like the mixture is starting to curdle before you’ve added all the butter but this is normal, just keep whipping. - Mix in the salt and vanilla then set this SMBC aside at room temperature.1 tsp vanilla paste or vanilla extract, Pinch fine grain salt
To assemble:
- Take one cooled cake layer and place onto a serving plate. Place half of the whipped ganache on top. Spread it out so it covers the top of the cake layer evenly.
- Top with the second cooled cake layer and another layer of whipped ganache. Finally, top with the third cake layer.
- Using about 1/3 of the SMBC, thinly frost the top and sides of the cake then chill for 10 minutes so the layer can firm up. This is called the crumb coat.
- After the cake has chilled, use the remaining SMBC to frost the top and sides of the cake again, this time with a thicker layer of buttercream. You can reserve a bit of it if you’d like for piping rosettes on top of the cake like I did.
- Grab that reserved ganache from earlier – the portion at room temp which should be cooled and slightly thickened but pourable. If it’s not liquid-y enough to pour, just warm it over a pan of simmering water gently until it loosens up a bit.
- Pour this ganache over the top of the cake and gently coax it towards the edges so it can drip decoratively down the sides.
- If you reserved any SMBC, pop it into a piping bag fitted with a star nozzle and pipe 8 rosettes on the top of the cake. Top each one with a walnut. Chill the cake until the ganache has firmed up properly then serve.


Gorgeous, and great flavour idea!
aw thanks, Kelly!
This looks so delicious – on my baking list!
hehe thanks, Emma! Hope you like it 🙂
A great recipe! I bake a fair amount but I thought this recipe would be a bit more complicated than what I usually make – BUT it was super simple to follow and turned out great!
Hello, the recipe calls for 6” tins but it looks like an 8” in the pictures. Is it just a small cake?
Yes it’s a 6″ cake – as it’s a victoria sponge, essentially, I prefer to bake it in a smaller tin so its thicker (and less dry), but it’s not a huge cake anyway so doesn’t look super tall.
Thanks! Turned out perfectly. Love the combination of flavours.