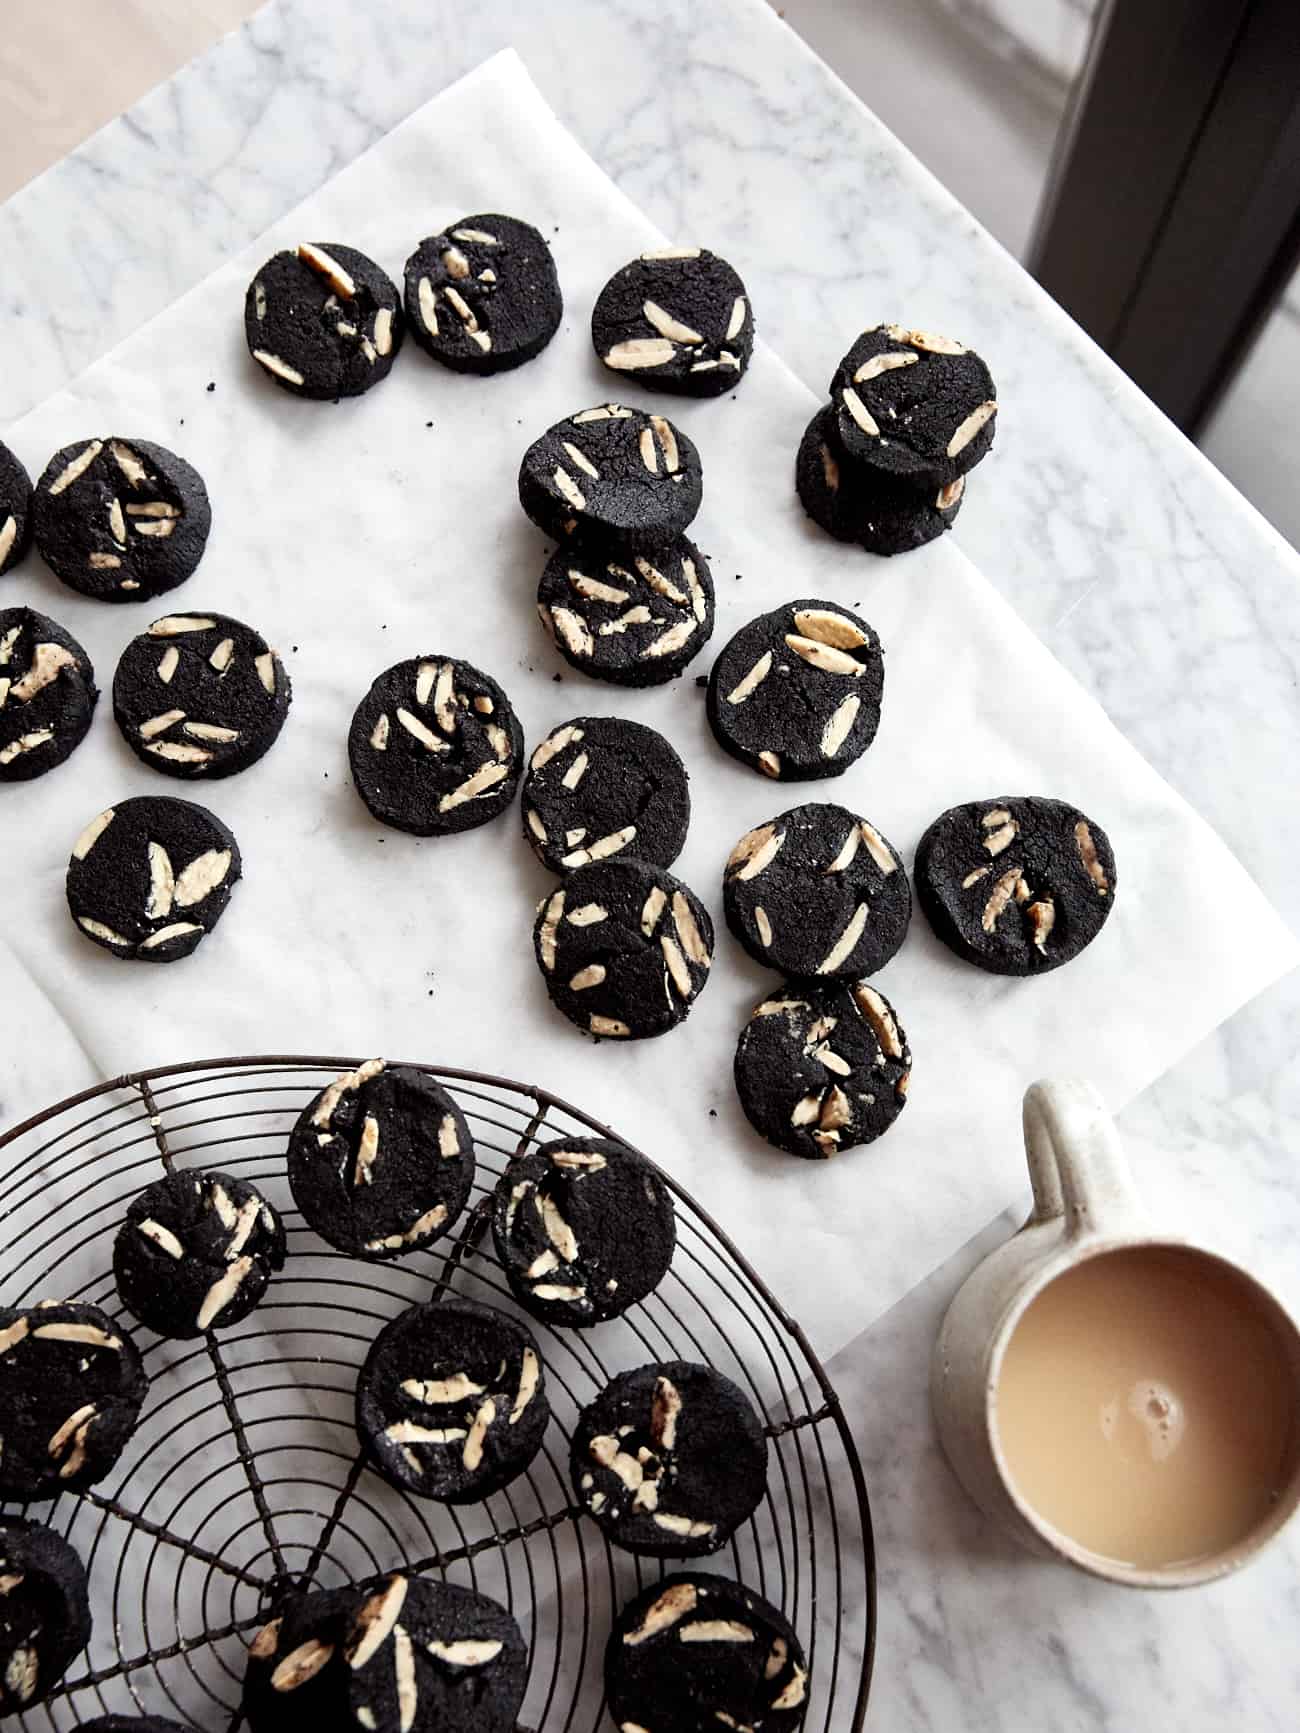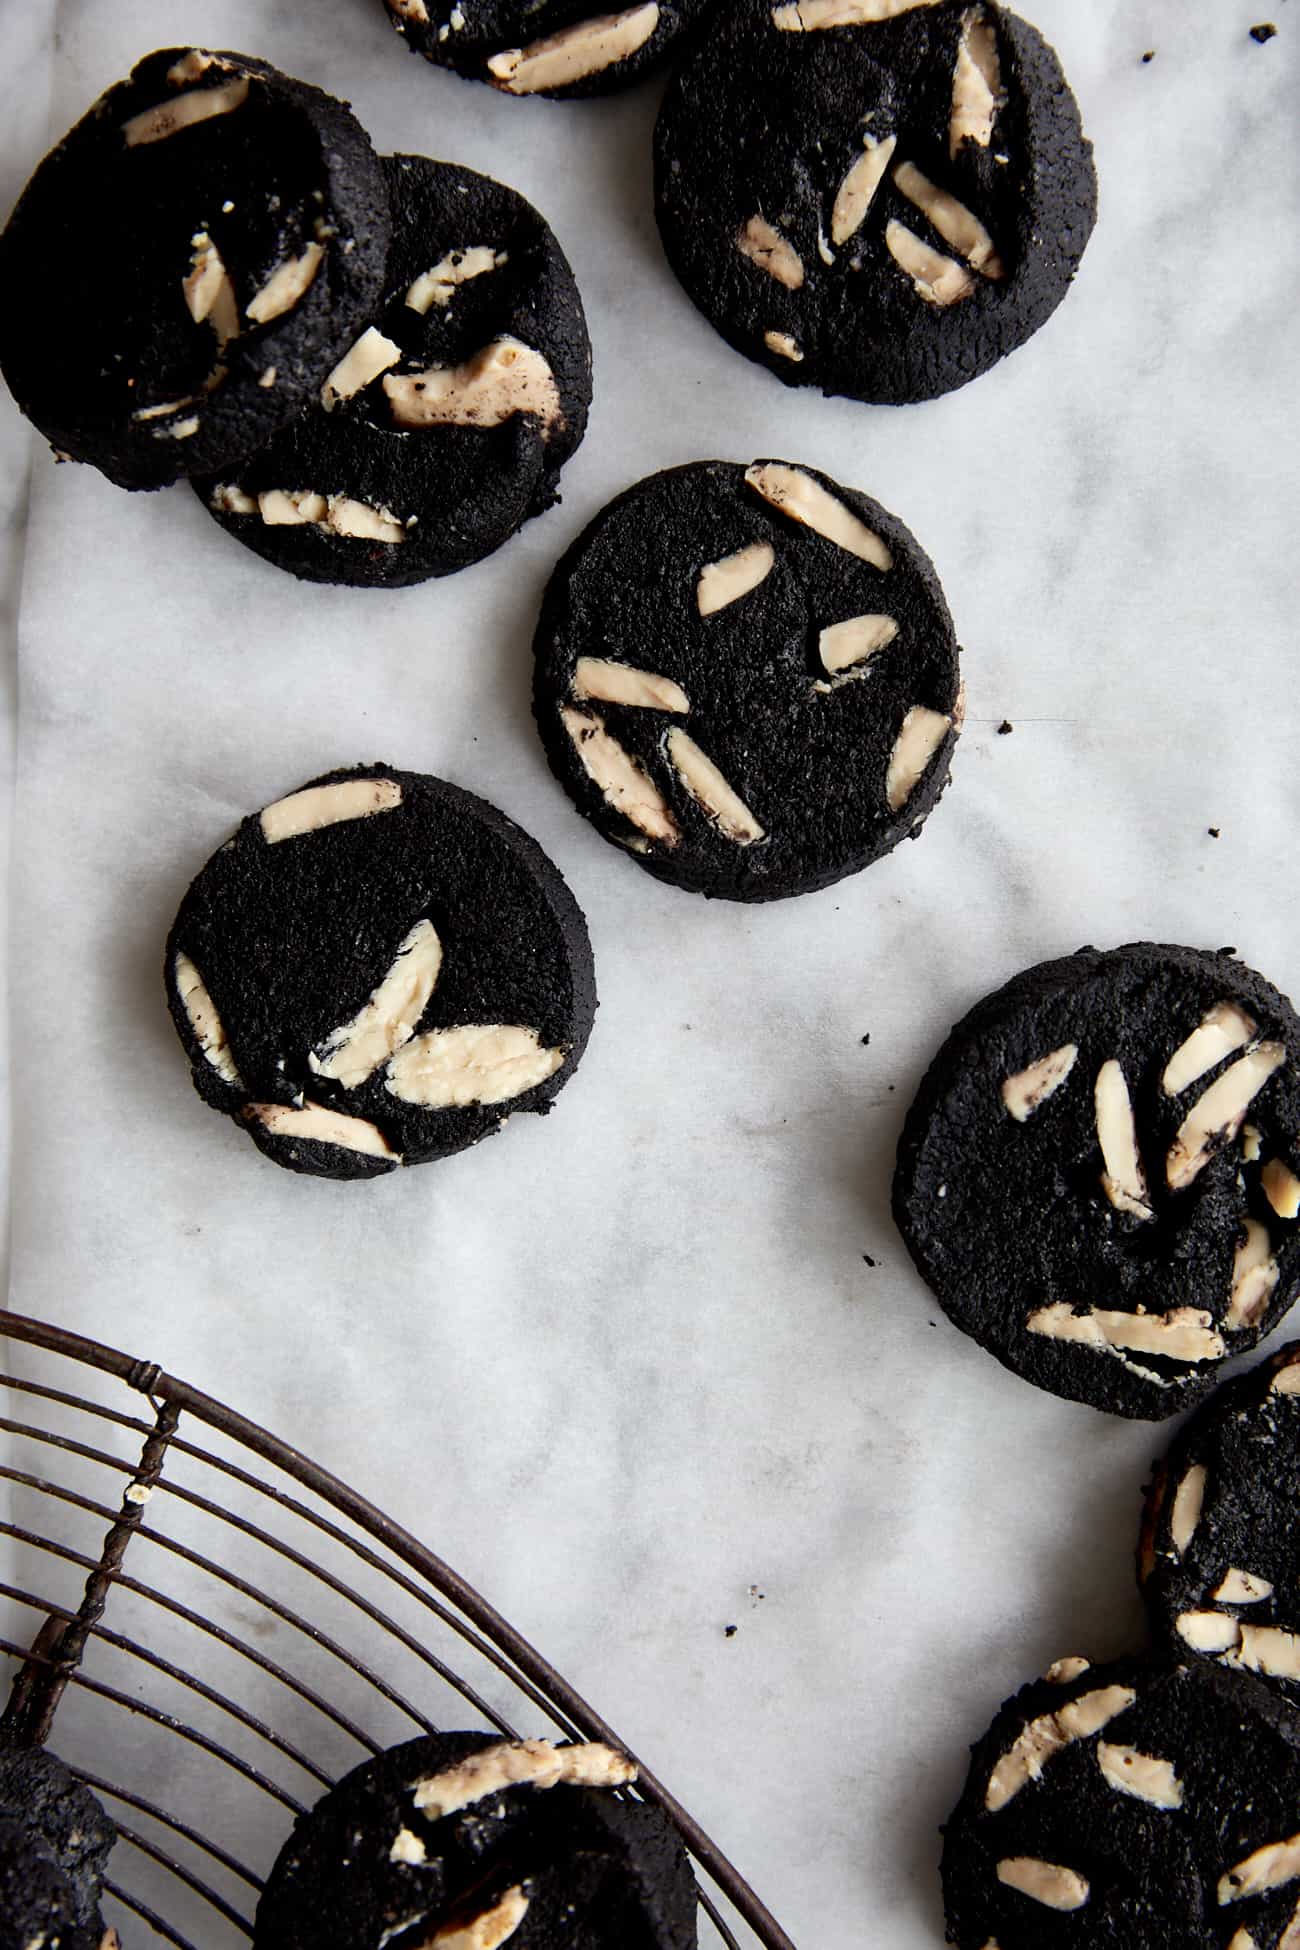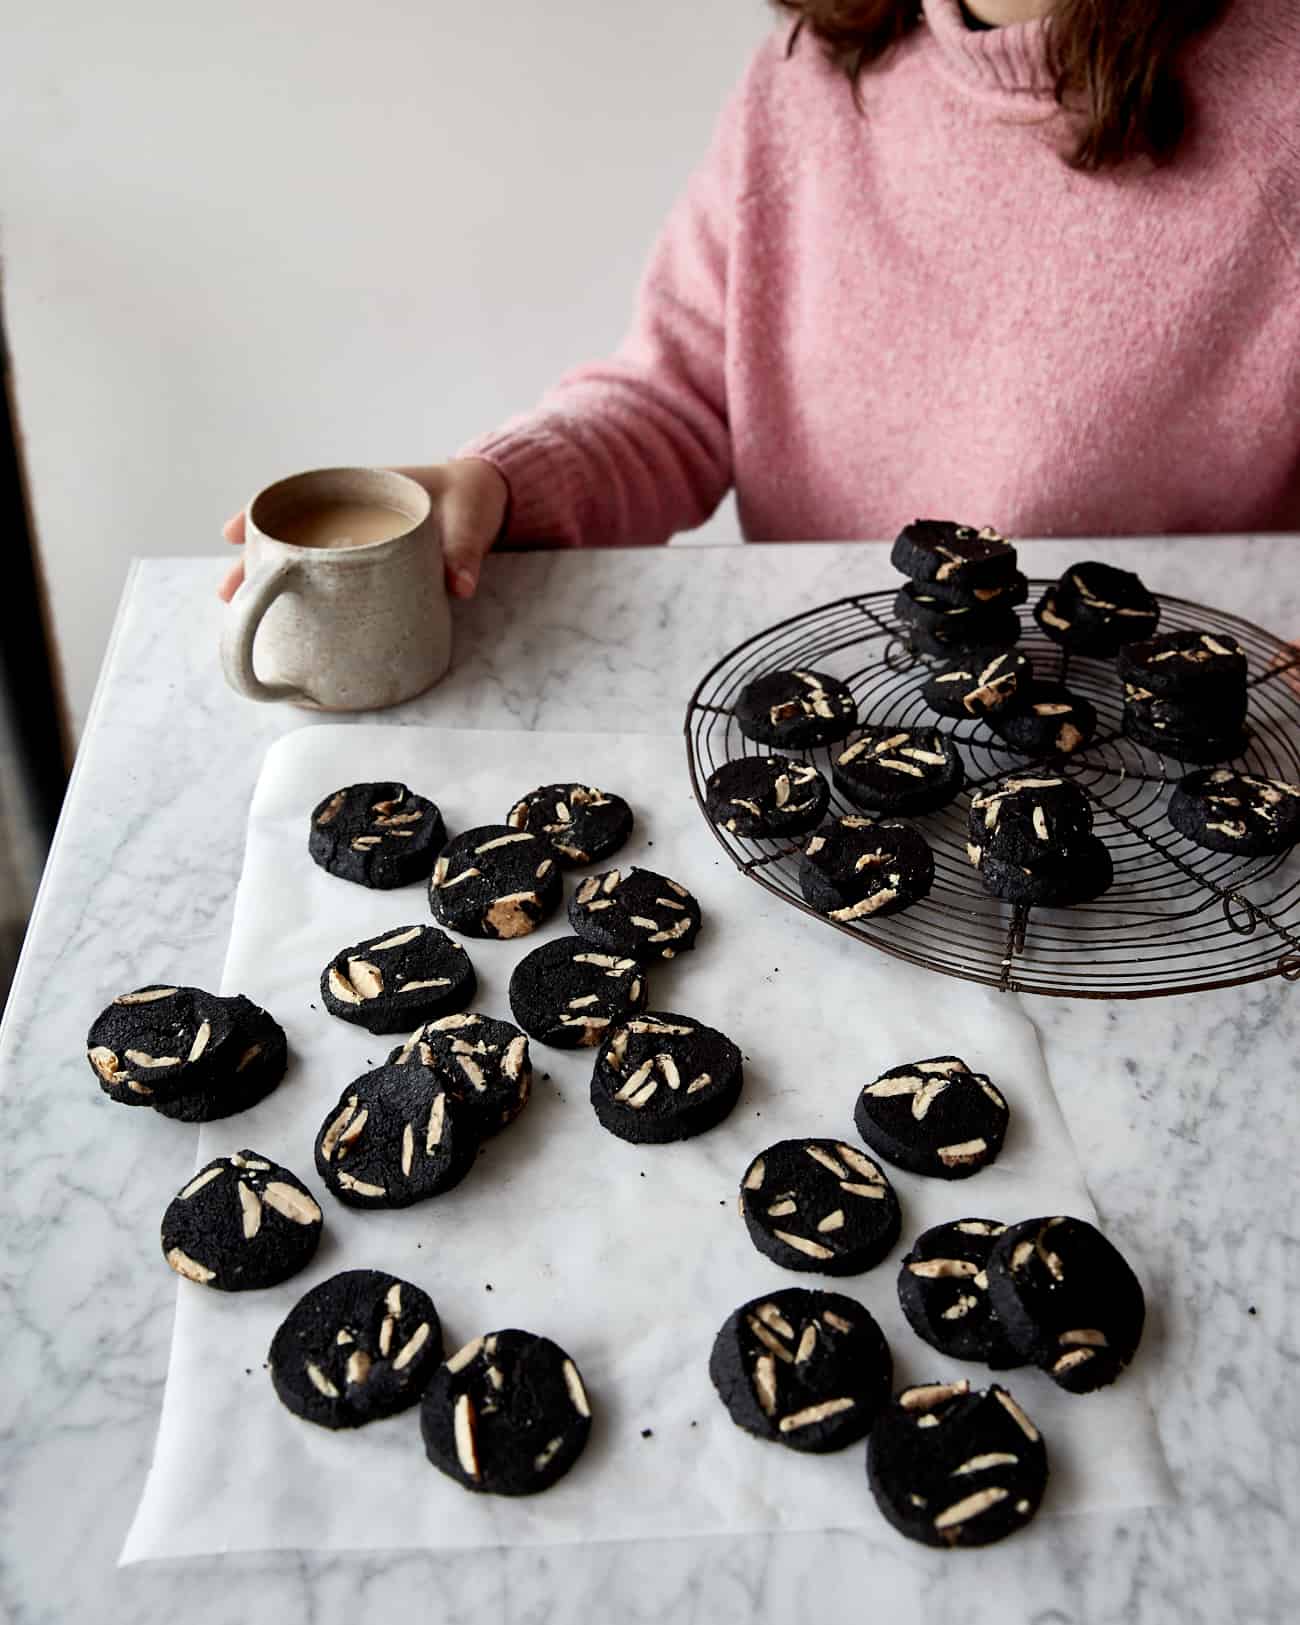
All the flavour of an oreo in a very simple slice & bake shortbread. These cookies are SO BLOODY delicious! Their slighty spooooooky look from the black cocoa also makes them a CLASSY option for your halloween baking.

One of my very lovely friends, Michelle, has written a cookbook called Weeknight Baking which is not only stunning but packed full of easy-to-make baking recipes. I utterly love the concept of the book – the recipes are mostly simple to make, and anything more complex is divided up over a few days. As someone who used to have to deal with the constraints of school days/uni lectures, I know the struggles of wanting to make beautiful birthday cake for someone with very limited time. I’m also definitely a weeknight baking type of person and will often just make some cookies on a Wednesday evening just because.

These cookies got my attention firstly because they looked so interesting. Very ‘modern art’, as Michelle says in the recipe intro. The inclusion of black cocoa (which I grabbed off of Amazon) and a hefty bit of salt in a shortbread cookie dough produces an oreo-like flavour. Chunks of white chocolate are added to offset the bitter/salty notes of the dough, and they caramelise in the oven making a more complex flavour.
I love a slice & bake cookie because it helps you get a very consistently sized cookie without needing to roll & re-roll scraps, as you would if you were using cookie cutters. It’s also a very quick way to get a lot of cookies shaped and ready to go.
Another bonus is that the logs of cookie dough take up minimal space in the freezer/fridge so really, they’re a great option to keep on hand without the dough taking up precious fridge real-estate.

Black-and-White Chocolate Chunk Shortbread Cookies
Ingredients
- 2 cups (240g) plain white (all purpose) flour
- 3/4 cup (75g) black cocoa powder (see notes)
- 1/4 cup (25g) dutch processed unsweetened cocoa powder
- 1/4 teaspoon bicarbonate of soda (baking soda)
- 1 teaspoon Maldon flaky salt
- 1/4 teaspoon fine table salt
- 1 cup (220g) unsalted butter, at room temperature
- 3/4 cup + 1 tbsp (160g) granulated sugar
- 8 ounces (220g) white chocolate, chopped into 1/4 to 1/2-inch chunks
Instructions
Make the cookie dough:
- In a medium bowl, whisk together the flour, two types of cocoa, bicarbonate of soda and both types of salt.
- In the bowl of a stand mixer fitted with the paddle attachment, combine the butter and sugar. Beat on medium speed until light and fluffy - about 2 to 3 minutes. Use a rubber spatula to scrape the sides and bottom of the bowl as necessary.
- With the mixer on low, gradually add the dry ingredients. Increase to medium-low and beat the dough until the dough clumps around the paddle and/or the sides of the bowl - about 2 to 3 minutes.
- Add all the white chocolate at once and beat on medium low until the chocolate is evenly distributed throughout - about 1 minute.
- Tip the dough onto the counter and used your hands to shape it into a roughly 6-inch (15 cm) square. Use a bench scraper to divide the dough into 4 equal portions. Place one portion in the centre of a piece of plastic wrap and use your hands to shape it into a rough log. Fold the plastic over the log so it covers the dough completely and use your hands to roll the dough as you would clay, rolling it back and forth in quick motions until it forms a circular log about 1 1/2 inches (~4cm) wide and 5 inches (~13cm) long. Seal the plastic wrap tightly around the dough. Repeat with the remaining dough portions and refrigerate them or overnight (see bottom of recipe if you want to bake on same day OR bake later)
Slice & Bake the cookies:
- Position a rack in the centre of the oven and preheat to 305°F / 150°C convection. Line two half sheet pans with baking paper.
- Unwrap each dough log and discard the plastic wrap. Use a serrated knife to slice each log crosswise into 1/2-inch (~1.5cm) thick rounds, sawing the knife back and forth slowly to prevent the cookie dough from crumbling.
- Place the cookies about 2 inches (5 cm) apart on the prepared sheet pans. The dough should still be cool and firm to the touch. If not, chill the sheet pans in the freezer for at least 10 minutes before baking.
- Bake one pan at a time (keeping the other in the fridge) for 20-30 minutes, or until small hairline cracks are visible on the surface of the cookies. Cool the cookies on the pan on a wire rack for 20 minutes, or until the edges and bottoms of the cookies are set and feel firm to the touch. Repeat to bake remaining cookies.
- Serve warm or at room temperature. Store in an airtight container or zip-top bag at room temperature for up to 3 days.
Bake on same day...
- This recipe divides the work over 2 days; to expedite the process and make the cookies in 1 day, refrigerate the cookie dough logs for at least 4 hours, until the dough is firm and doesn't indent when poked. Slice and bake the cookies as directed. If you find the cookies are losing their shape in the oven, freeze the subsequent batches of cookie dough rounds for an additional 5 to 10 minutes before baking.
Bake later...
- Make the dough and shape it into logs as directed. Wrap each log in cling film, as directed and then in a layer of kitchen foil. The day before you plan to bake the cookies, thaw the dough by removing the layer of foil (but keeping them wrapped in cling film) and place in the fridge overnight. Bake as usual.


You have a typo in step 2 (“In the bowl of a stank mixer…”)
best typo I’ve ever done! Thanks for letting me know