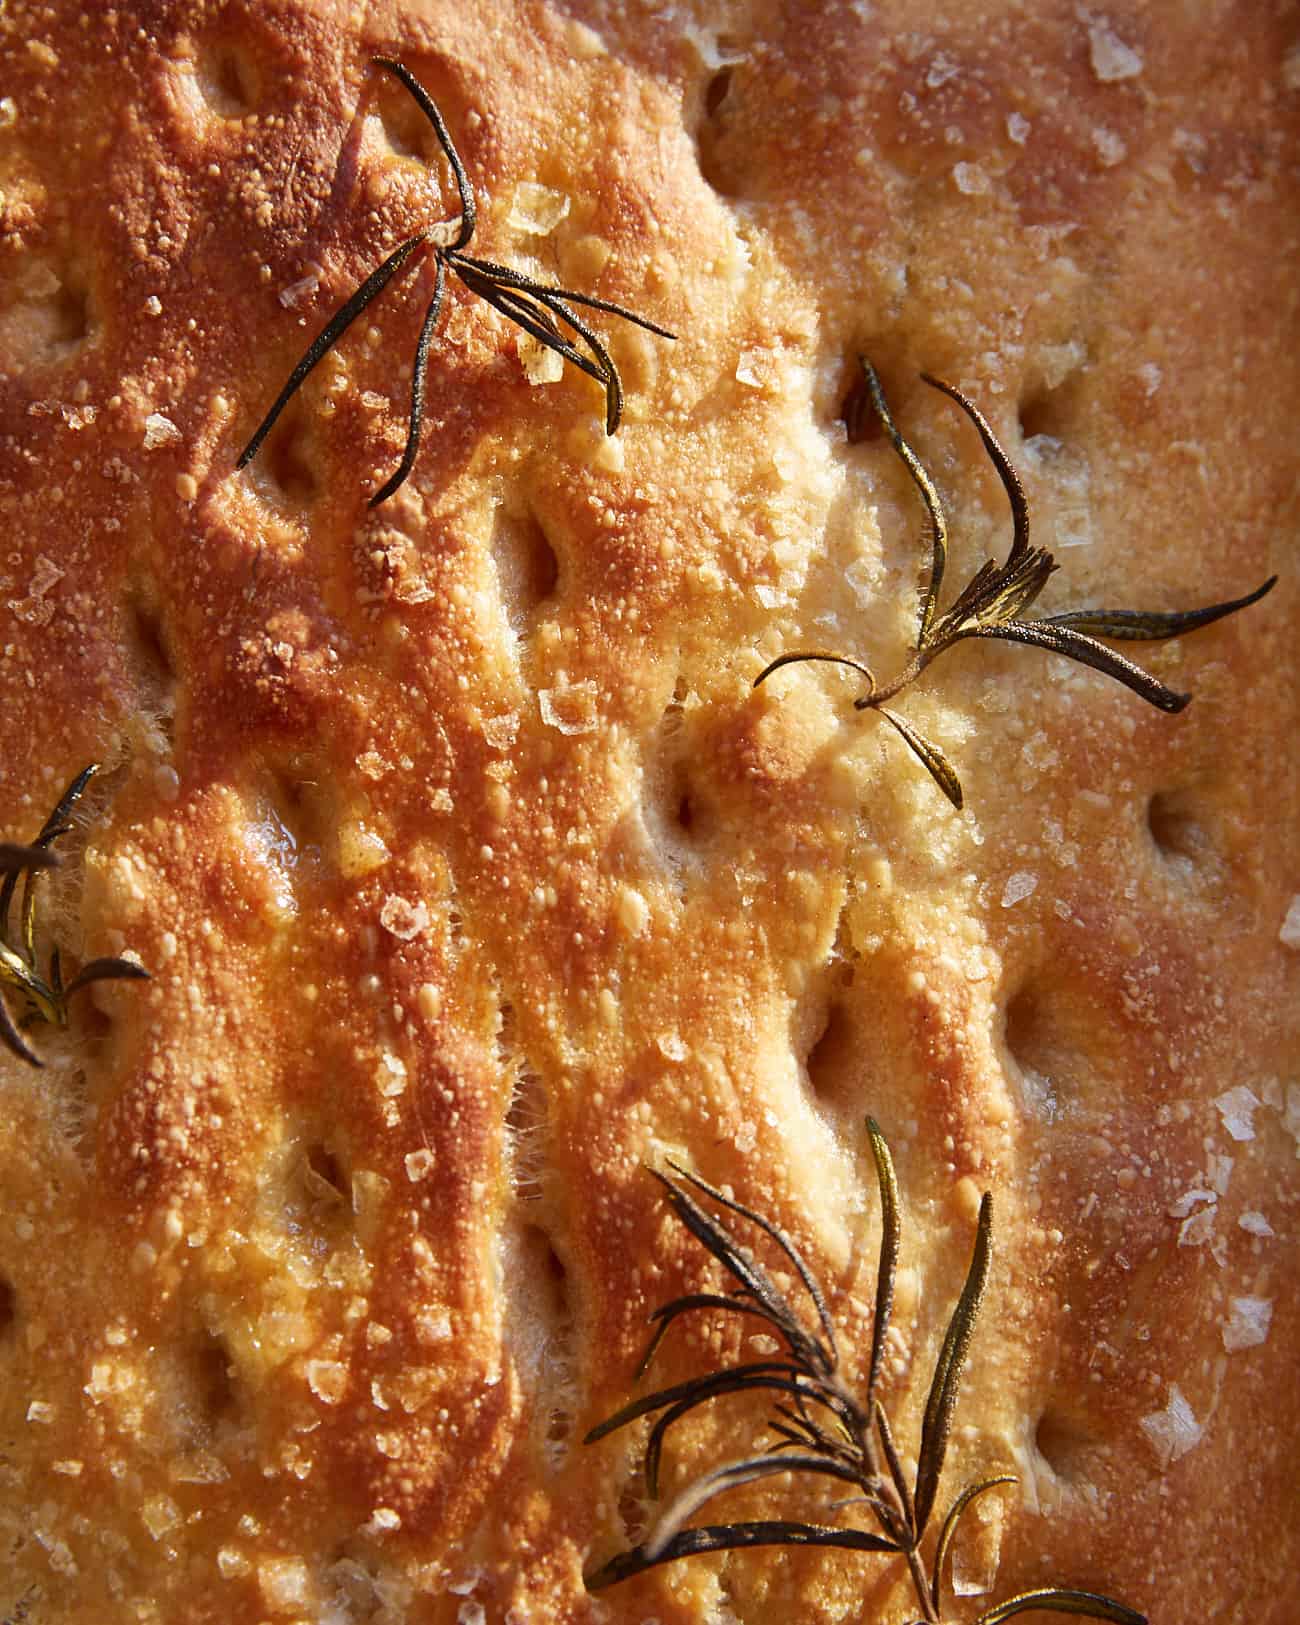
As an obsession with sourdough bread has occurred, my attention has turned to alternative uses for my starter, other than boules. It turns out that sourdough focaccia is my new favourite go-to bread to make! It’s got a very similar dough method to my standard boule but it’s ready the same day the dough is made and it’s a lot easier to shape/bake (no banneton, no shaping, no dutch oven needed!). All you need is a bowl, a baking tray and a HOT oven!


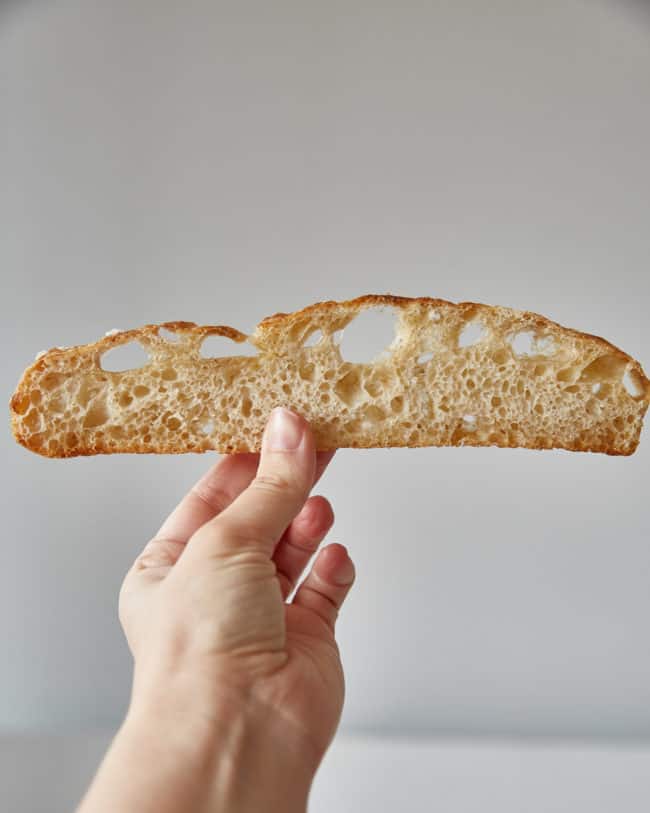
I am also notoriously bad at slicing bread boules (TOO crusty and also very prone to becoming slanted when I cut them!) so focaccia is my bestie now – it’s very easy to slice into chubby, bubbly hunks. You can split a square of it in half and toast (and eat as you would sliced bread) or just serve in all its glory as a chunk on the side of your dinner! It goes very well with all types of anti-pasti type toppings (chopped tomatoes with balsamic, artichoke hearts, fresh mozzarella, pesto, hummus etc) so makes for a very simple and satisfying dinner.
To Fold or Not to Fold?
I’ve tested the recipe quite a few times now and so have tried various techniques out on the dough. I compared a version where I performed coil folds every 30 mins for 4 hours (the ‘bulk rise’), with a version where I just left the dough to do its thing (no ‘kneading’) for 4 hours. What surprised me was that both versions turned out extremely well! The no-knead version had less of an open crumb (i.e. fewer large air holes) and was more prone to settling into the tray. Whereas the folded version held its rounded shape a bit more (so spread less in the tin) and had larger air holes. So overall, you can do EITHER method and you’ll get delicious results, it just depends on if you have time to do the folds or not (and depends on if you really want that open crumb).
Overnight Fridge-Rest or Same Day Bake?
Once the dough has had its 4 hours of bulk rising and is plopped into the tray, you can let it prove at room temp and bake the same day OR you can leave it in the fridge overnight. Again, this can be a preference due to timing but also comes down to flavour. If you prefer a more sour-tasting bread, chilling the dough overnight really helps those flavours develop. If you don’t care so much for that flavour and want the bread TODAY, no fridge-rest needed.

One set of Coil Folds
How to make sourdough starter
If you haven’t got a sourdough starter yet, I have a comprehensive guide on starting and maintaining a sourdough starter right here.

Sourdough Focaccia (No-Knead)
Ingredients
- 400 g (1 1/2 cups plus 2 tbsp) lukewarm water
- 1 tbsp granulated sugar
- 500 g (4 cups) white bread flour (strong flour) (see notes for substitutes)
- 100 g (1/2 cup) recently fed sourdough starter (100% hydration)
- 1 tsp (7g) fine table salt
- 80 ml (1/3 cup) extra virgin olive oil
Instructions
Make the dough:
- Combine 385g of the water (i.e. all but 1 tablespoon of the water) and all of the sugar in a large bowl. Mix to combine.400 g (1 1/2 cups plus 2 tbsp) lukewarm water, 1 tbsp granulated sugar
- Add the bread flour and mix to form a lumpy dough. Cover (I like to use a bin bag placed over the bowl and clipped at the side, or a shower cap) and leave to rest for 30 minutes.500 g (4 cups) white bread flour (strong flour)
- After 30 minutes, spread the starter over the dough in the bowl. Dimple it in and mix the dough as well as you can in the bowl. I find using my hand, shaped like a claw, with a kind of scooping motion towards the edge of the bowl helpful for this. Once mixed, sprinkle the salt and the reserved 15g (1 tbsp) of water over and mix this in in a similar fashion.100 g (1/2 cup) recently fed sourdough starter, 1 tsp (7g) fine table salt
For No-knead bulk rise:
- Cover and leave at room temperature for another 4 hours until doubled in size and bubbly (this timing will depend on the weather; my room temp. is generally 22-24°C. Better to go by the increase in volume rather than the suggested time).
OR For Folded bulk rise:
- Cover and leave for another 30 minutes at room temperature. After 30 minutes wet your hands and perform a set of coil folds on the dough: coil folding (see video above the recipe card for help) is done by gently lifting the dough up with both (wet) hands cupped underneath, then letting the 'North' edge fold under the dough as you place it back into the bowl. Rotate the bowl 180 degrees so the 'South' edge is now facing 'north'. Lift the dough up again in the same way and let the 'south' edge fold under the dough as you place it back down. Rotate the bowl 90-degrees and then repeat the lifting & lowering for the 'west' and 'east' edges of the dough. This is one 'set' of coil folds.
- Cover the dough and leave for another 3.5 hours, performing a set of coil folds every 30 minutes, and covering the dough each time while it rests. The first few coil folds you perform you can be a bit more firm with the dough but as you progress to the later coil folds, try to be gentler so as not to disturb the air in the dough too much.
- Straight after your final coil fold, move onto the next step.
Shape:
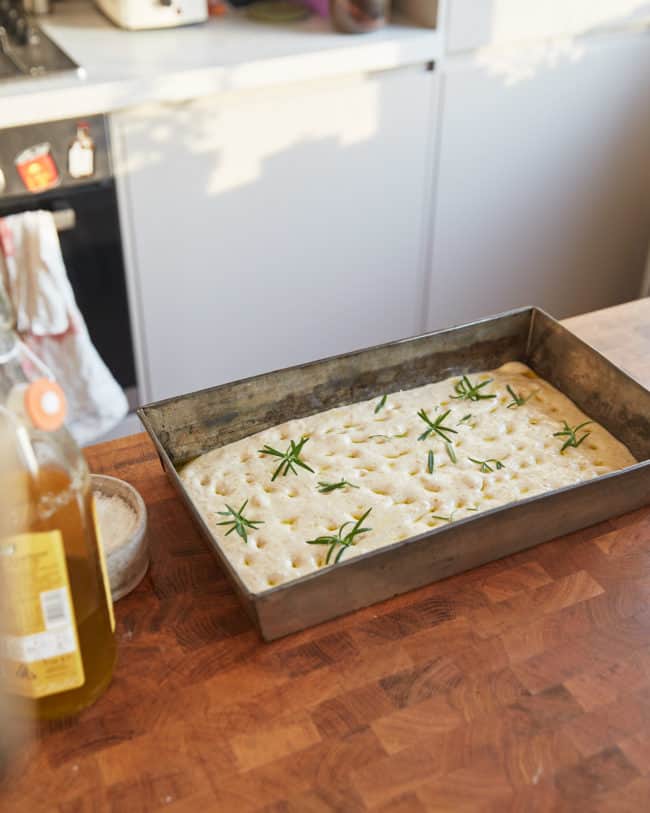
- Drizzle half of the olive oil into a 9 x 13-inch baking tray or roasting dish (I prefer one with high sides but a rimmed baking sheet works). Gently tip the bowl over the tray and coax the dough out as carefully as possible – it should mostly fall out from its own weight. Oil your hands and flip the dough over so that both sides are now covered with a light layer of oil. Use wetted fingertips to very very gently coax the dough into a slight oval shape, trying not to deflate the dough or stretch it too much. It will spread out more as it rises so don't worry about making it reach the edges of the tray.
To Bake the same day:
- Leave uncovered in a warm place for 2-5 hours until very puffy – almost doubled in volume – and bubbly. Again this will depend on the temp of your room so will be quicker in warmer months.
- When ready to bake, preheat the oven to 220°C fan (430°F) / 240°C non-fan (460°F).
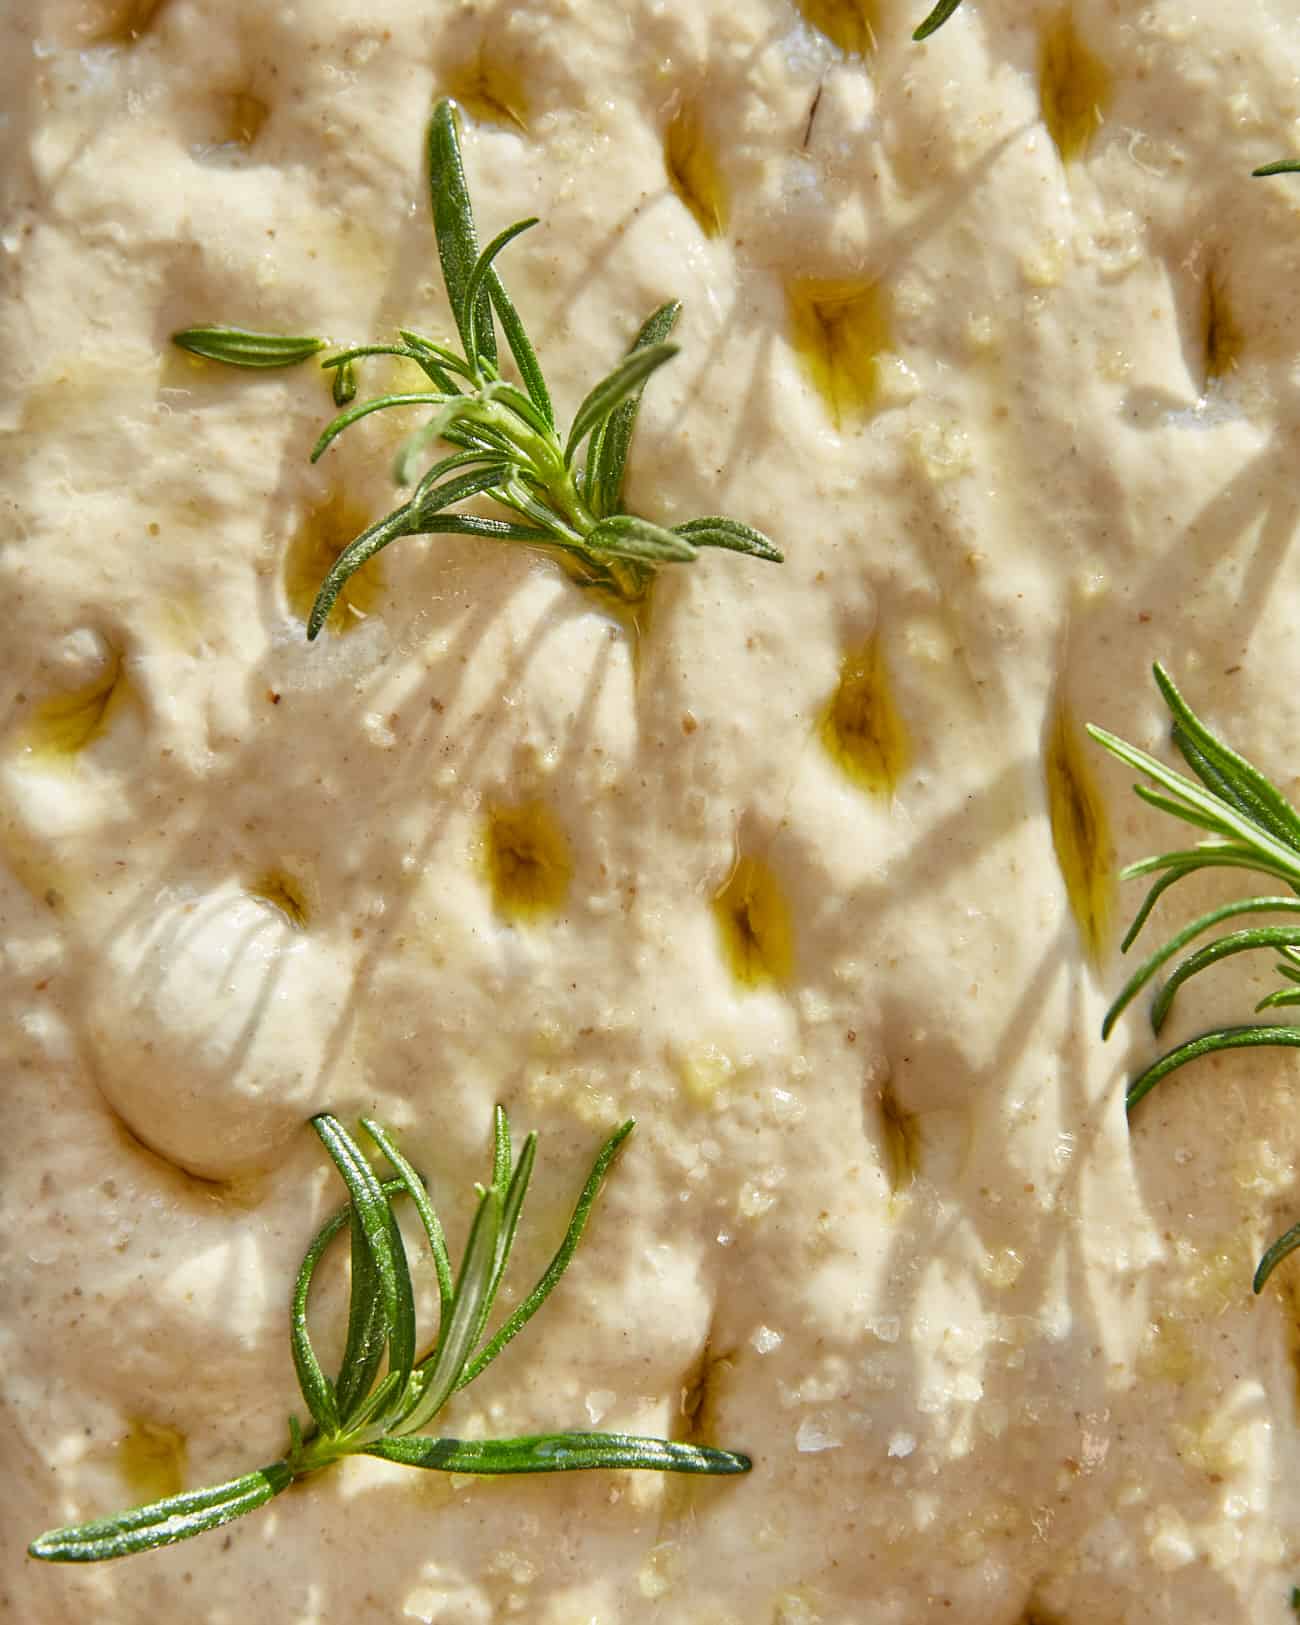
- Drizzle the remaining olive oil over the dough and use your fingertips to press down into the dough all over, making deep dimples for the oil to pool in. Sprinkle with some flakey salt, add any other toppings like rosemary sprigs, and bake for 20-25 minutes, rotating the tray halfway through the baking time to ensure an even bake. It should be golden all over with some more well-browned patches.
OR To Bake tomorrow:
- Chill the dough overnight (12-16 hours). 1 to 2 hours before you want to bake it, remove from the fridge and leave in a warm place to rise for a bit. I like to put it in the oven with the light turned on and a small bowl of boiling water at the bottom of the oven – this makes a warm, steamy environment perfect for the dough to rise in without drying out.
- When ready to bake, preheat the oven to 220°C fan (430°F) / 240°C non-fan (460°F).
- Drizzle the remaining olive oil over the dough and use your fingertips to press down into the dough all over, making deep dimples for the oil to pool in. Sprinkle with some flakey salt, add any other toppings like rosemary sprigs, and bake for 20-25 minutes, rotating the tray halfway through the baking time to ensure an even bake. It should be golden all over with some more well-browned patches.
- Tip: Allow to cool before removing from the tray, slicing and eating. If you find the dough is stuck to your tray, use a metal spatula or offset cake spatula to coax it away from the tray (It should be quite a flexible loaf so don't worry if it bends a bit as you do this).


Hi! If I use the 250g of wholemeal flour, do I add 150g strong white to get to the same total of 400g? And does it affect water quantity in any way? Wholemeal is usually more thirsty… looking forward to giving this a go ASAP!
If using 250g wholemeal you should also use 250g white flour (to make a total of 500g flour!). When I tested it with wholemeal, I didn’t increase the hydration and the dough still worked out great – I think as it’s such high hydration dough and there isn’t a need for shaping, the additional absorption of water by the wholemeal flour produces a negligible change to the dough. However, if you’re feeling like it needs more water after mixing in step 1 add an extra tablespoon (15g) when you’re doing the mixing in of the salt 🙂
Just made this, using all-purpose flour, and added a few tablespoons of vital wheat gluten. It. is. DELICIOUS! I made “flowers” using cut up cherry tomatoes, rosemary + thyme sprigs. Can’t wait to make this again! And thank you for all of your ideas on what to make with sourdough. I’ve made this and your cinnamon-date bread, as well as regular boules, and feel very proud of myself!
The best focaccia I have ever had, and a great way to use my starter outside of loaves!
Just made this for the first time, thank you for the clear instructions. Lovely
I came across this recipe when searching for no knead sourdough focaccia because basically I’m lazy. It is now my go to recipe and everyone that tastes it has loads of compliments so thank you. I vary the olive oil for the baking tray and drizzle, slowly warming with different herbs and some garlic or chilli for a bit of a change but the rest remains straightforward and simple.
Give it a try – you won’t be disappointed!
Hi! Is it possible for you to make a video for step 3 when you’re adding in the starter? The video of the coil folds is really helpful and I can’t quite picture the dimpling in and claw motion.
Thank you! This recipe looks amazing and I can’t wait to try.
Hi Janna, I’ll try to do that for you! Glad to know the videos are helpful 🙂
Hi! What’s the difference between the no-knead bulk rising and fold bulk-rise? Which one will turn out better or is it just the same?
Hi Libby, I go into more detail about the methods in the text above the recipe 🙂
I just made this! I love it, but I kind of mangled it.
I subbed 150gm of semolina in.
Then I misread the recipe and left the flours, water, sugar and starter in the fridge for 12 hours…..
Turned out perfect!