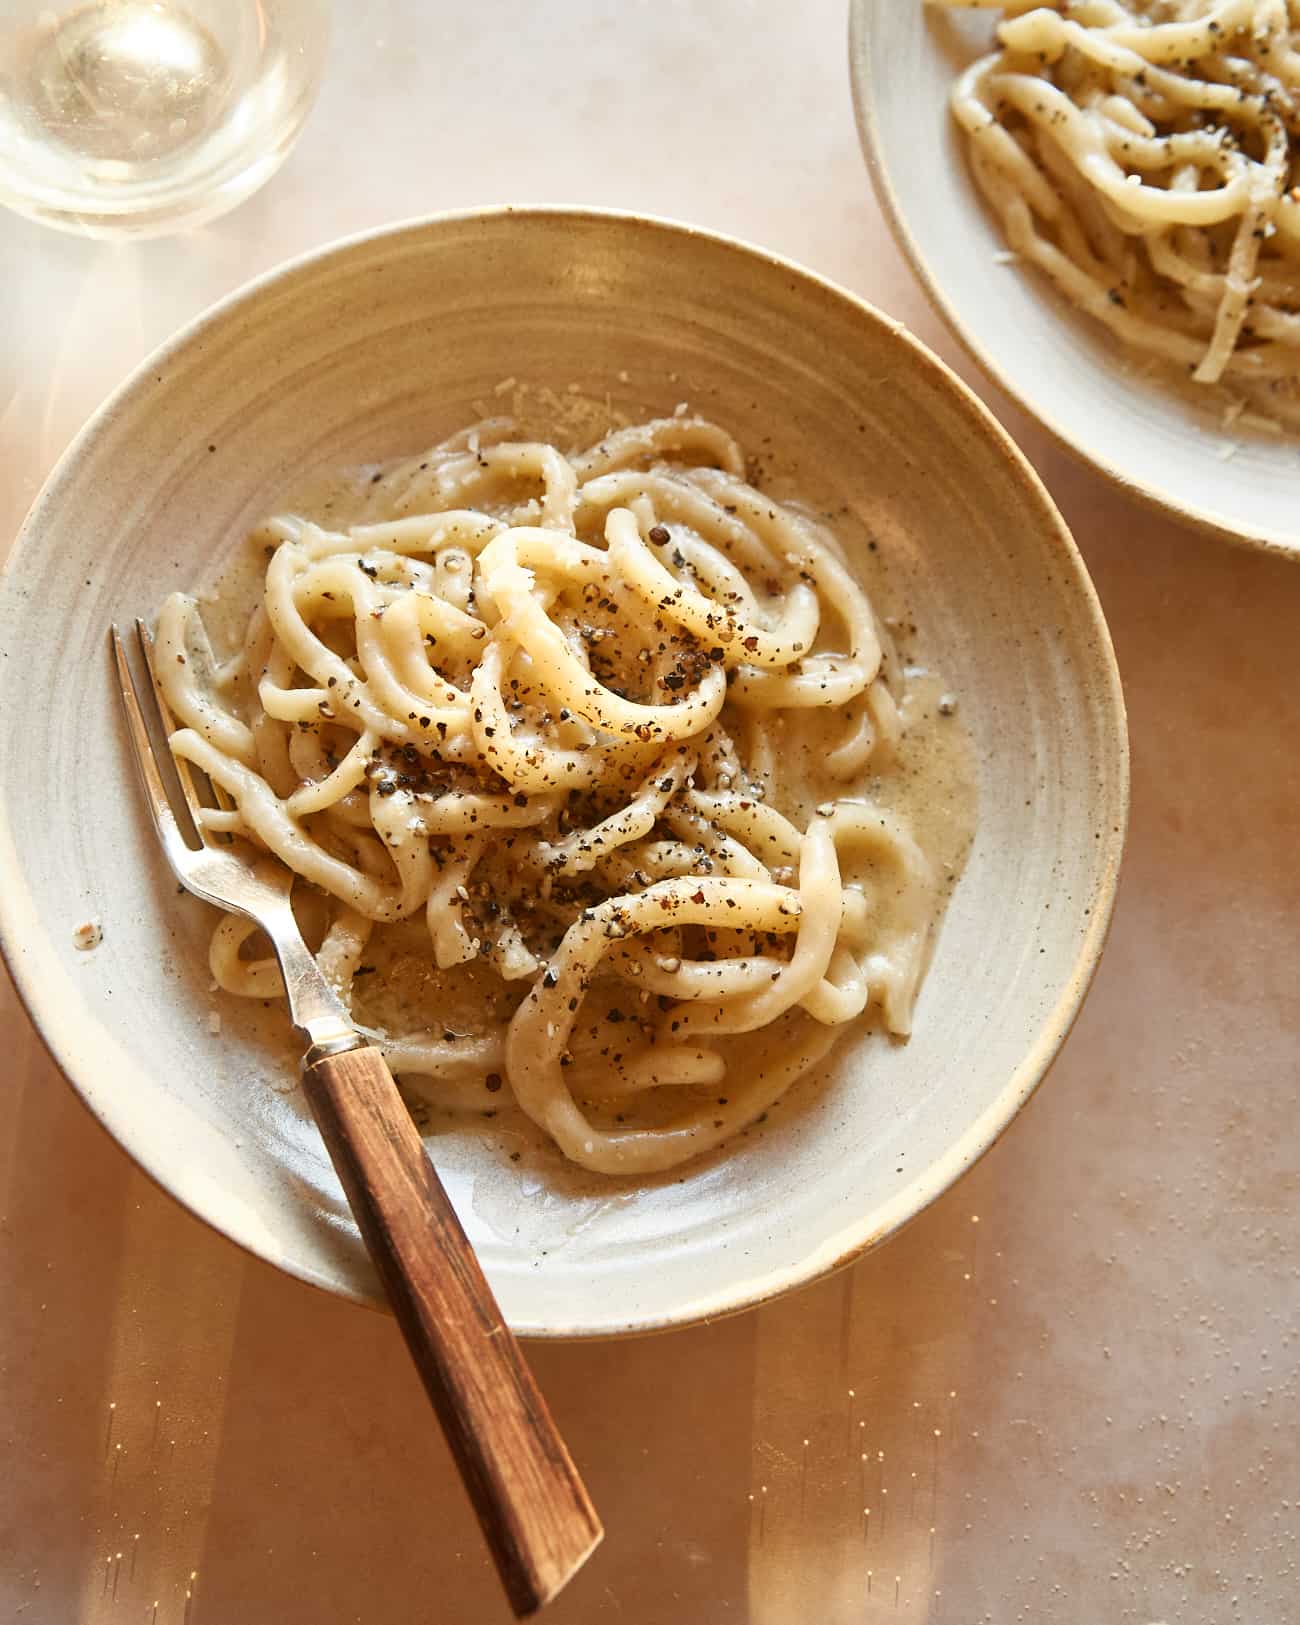
After having the Pici Cacio e Pepe at Padella (a pasta restaurant in Borough Market, London), I became kind of obsessed with it. It was like nothing else I’d had before with wobbly, worm-like noodles and a rich yet light sauce packed with a salty, tangy punch. Black pepper wasn’t something I’d ever had as a main seasoning in a dish but it worked so well here.
My brother and I discovered that there was a video on Jamie Oliver’s youtube channel of Tim Siadatan, the head chef of Padella, making said cacio e pepe. He only gives actual quantities for the pasta dough part and has the sauce ingredients in rough quantities. We made it like this, following his directions, and it worked so wonderfully. Since then, I’d made the dish quite a few times but since I was never measuring ingredients, the results were varied! I decided to finally measure everything out as I went and tested it a couple of times with my proper written recipe so I could type it up for here.
Traditional cacio e pepe uses Pecorino cheese (and no lemon! and also I think no butter?) in the sauce. I use Parmesan cheese because (1) Pecorino isn’t readily available/ I always have Parmesan in the fridge (2) I prefer the flavour of Parmesan as I find Pecorino too salty/sheep-y (3) At Padella they use Parmesan in the sauce and that is what this recipe is based off of. PLEASE do not come at me telling me this isn’t traditional – I know it’s not!! But it’s still delicious! 😉
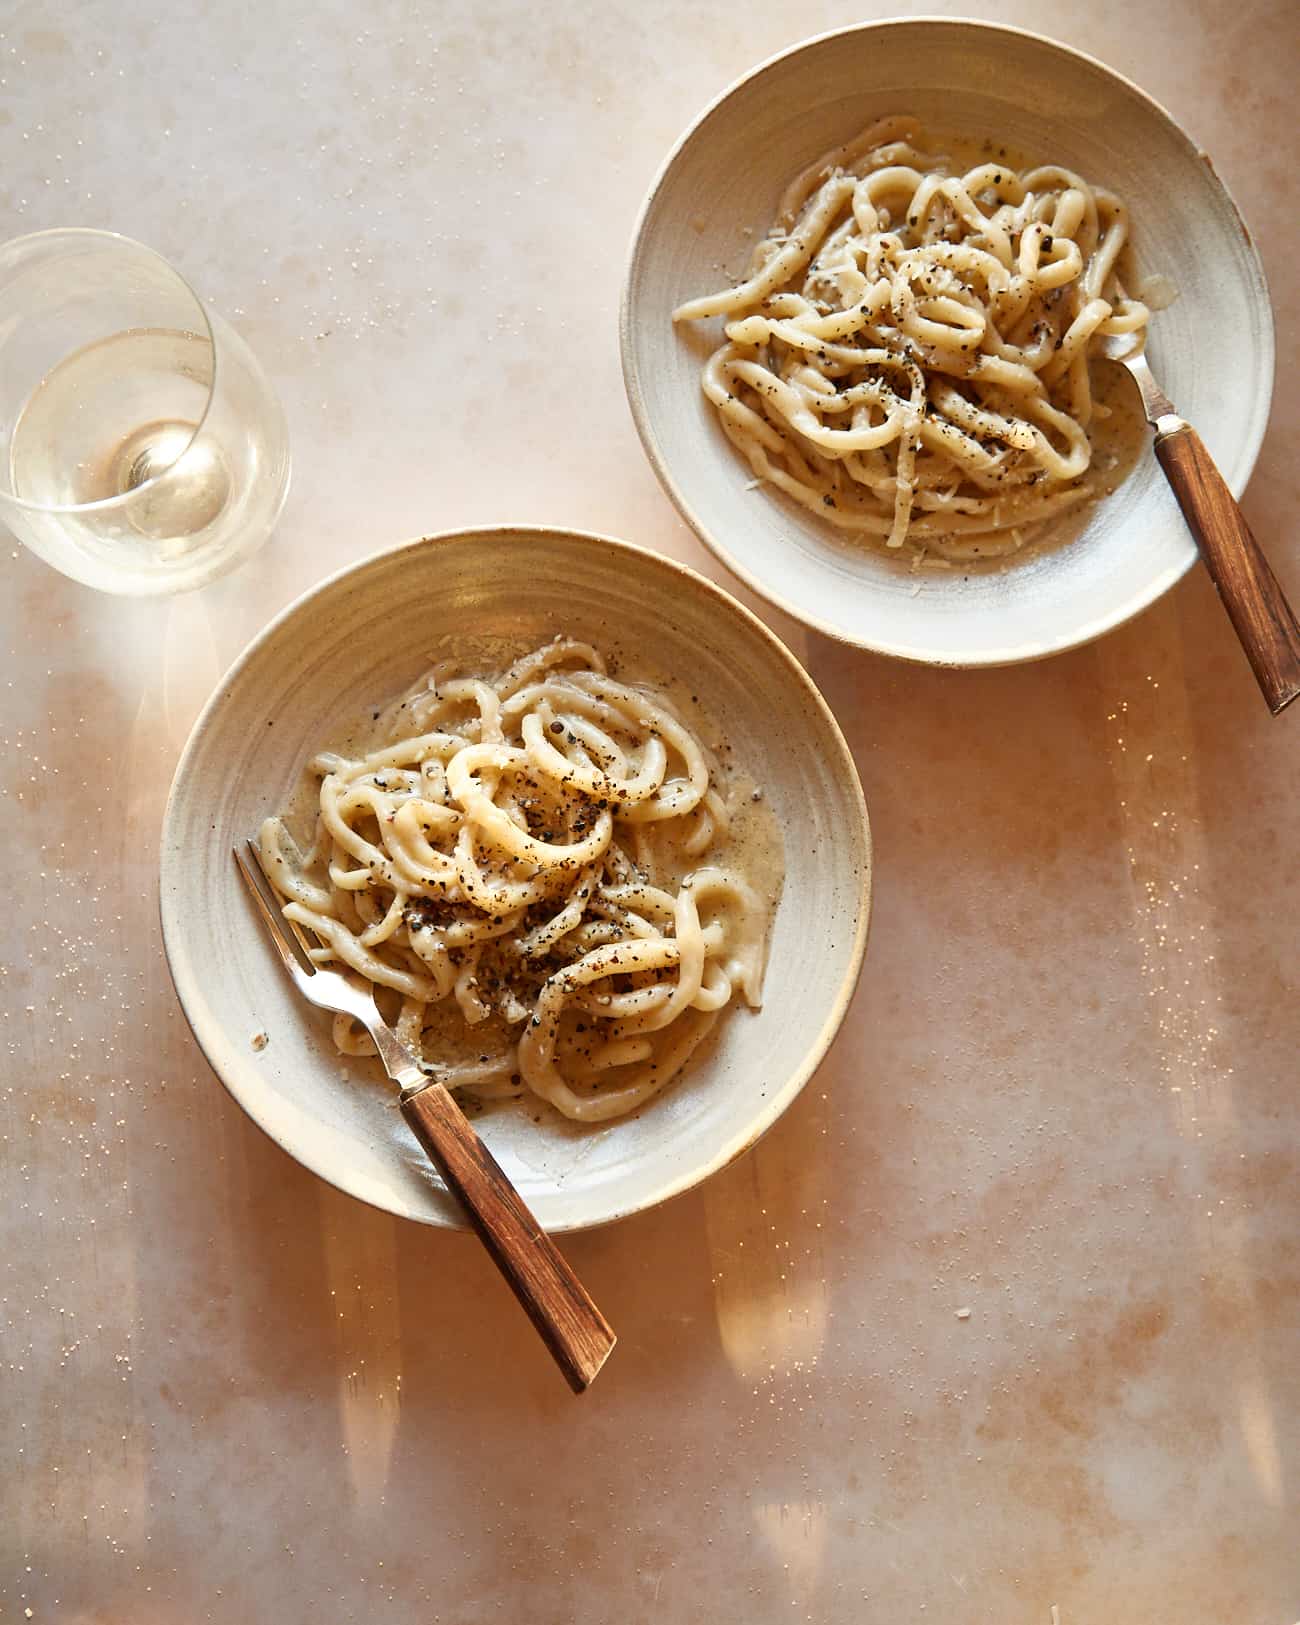
This is my idea of the ultimate dinner date meal. It’s kinda fancy and needs a little more attention than your average dried pasta dish BUT you don’t need a pasta machine and it’s made with ingredients you probably already have in the fridge. It feels indulgent and restaurant-y yet rustic. I have found that it’s kind of tough to make for a crowd, with 2 servings being the ideal amount so, again, it’s perfect for date night (or Valentine’s day!).
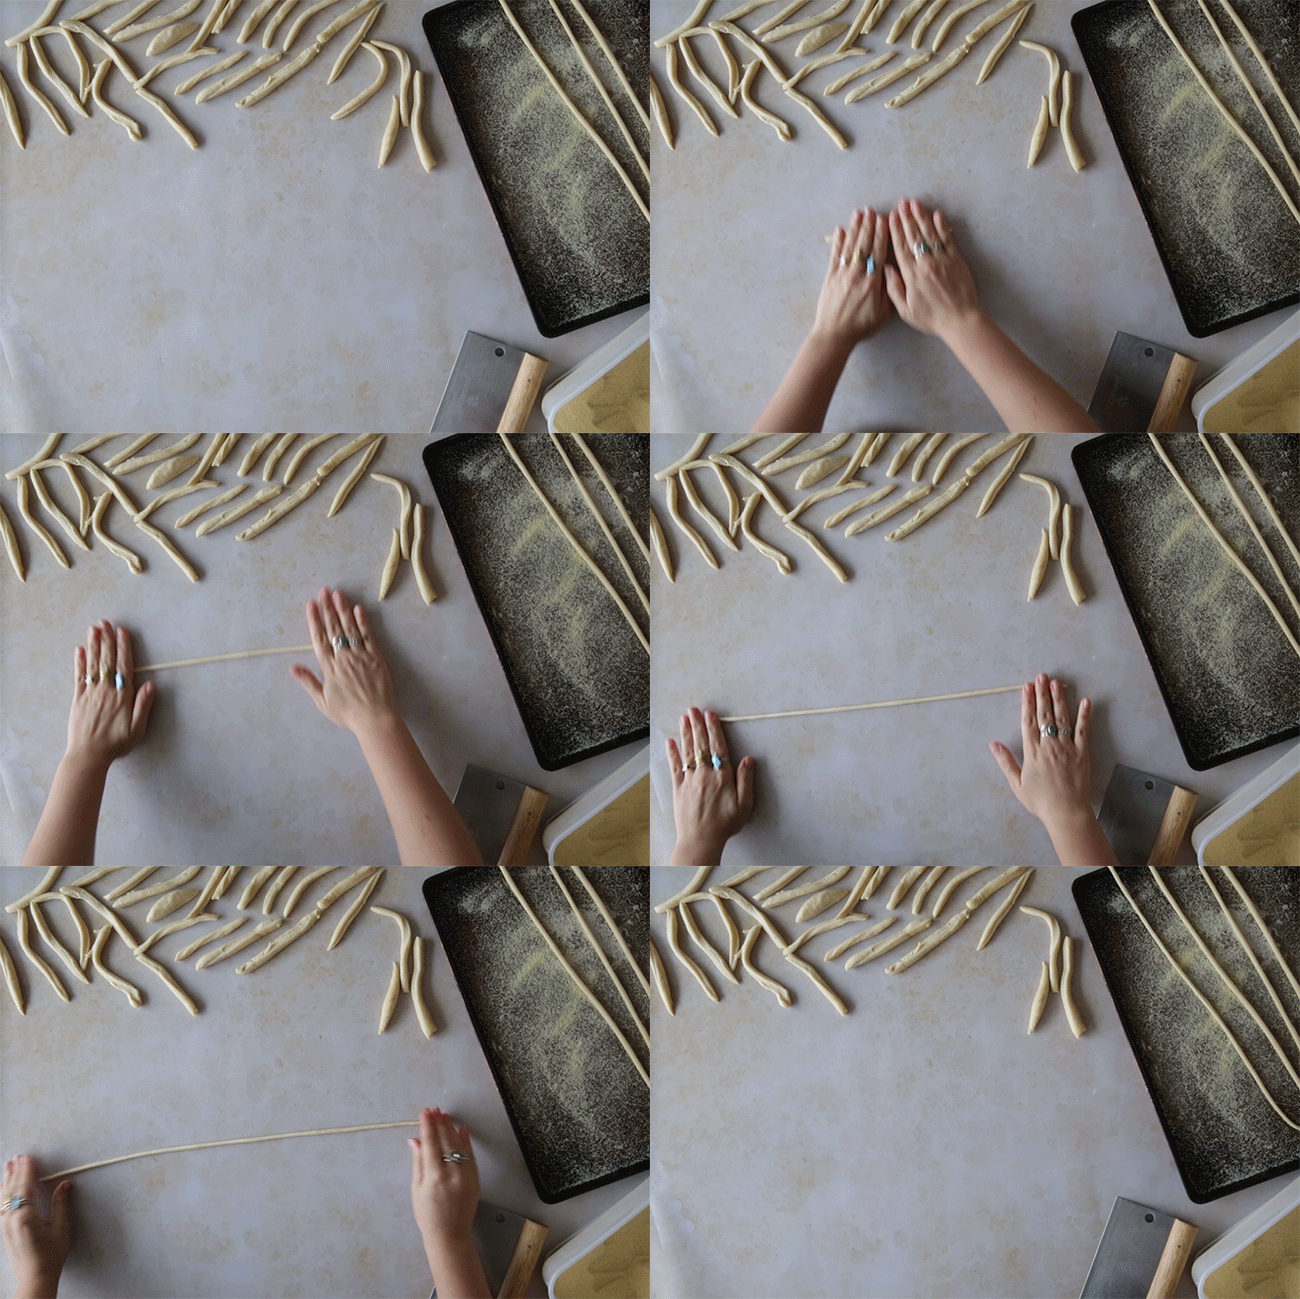
I made a video of the process when I was in Mallorca last summer (which you can watch below!) and have also done a little .GIF of the pici rolling process so you can easily see how to make them. A quick note that the dough does need to be rested in the fridge so that the gluten can relax, allowing you to roll out the dough more easily. I rest it for 1 hour usually but you can rest it for up to 24 hours. Also, make sure you have all your saucy ingredients at the ready before you start boiling the pasta as it all happens v fast and you need to give it your undivided attention as you bring it all together at the end.
Hope you enjoy this one and that it becomes part of your recipe repertoire to cook again and again!
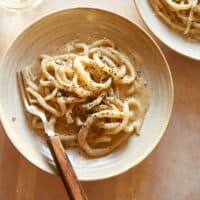
Pici Cacio e Pepe
Ingredients
Pici dough:
- 200 g (1 2/3 cup) strong white (bread) flour
- 1/4 tsp salt
- 1 tbsp (15g) extra virgin olive oil
- 95 g warm water
- plain white flour or semolina , for dusting
Cacio e pepe sauce:
- 60 g (1 cup) finely grated Pecorino or Parmesan cheese
- 1 tbsp black peppercorns
- 1 tsp lemon juice
- 40 g (3 tbsp) unsalted butter
- 160 ml (2/3 cup) pasta water
Instructions
For the pici dough:
- Combine the flour and salt in a medium bowl. Add the oil and water and mix to form a shaggy dough. Tip the contents of the bowl out onto a clean work surface and knead for 6 to 10 minutes until smooth and soft but not sticky or dry.
- Place into a resealable sandwich bag and chill for at least 1 hour (or up to 24 hours).
When you’re ready to cook, shape the pici:
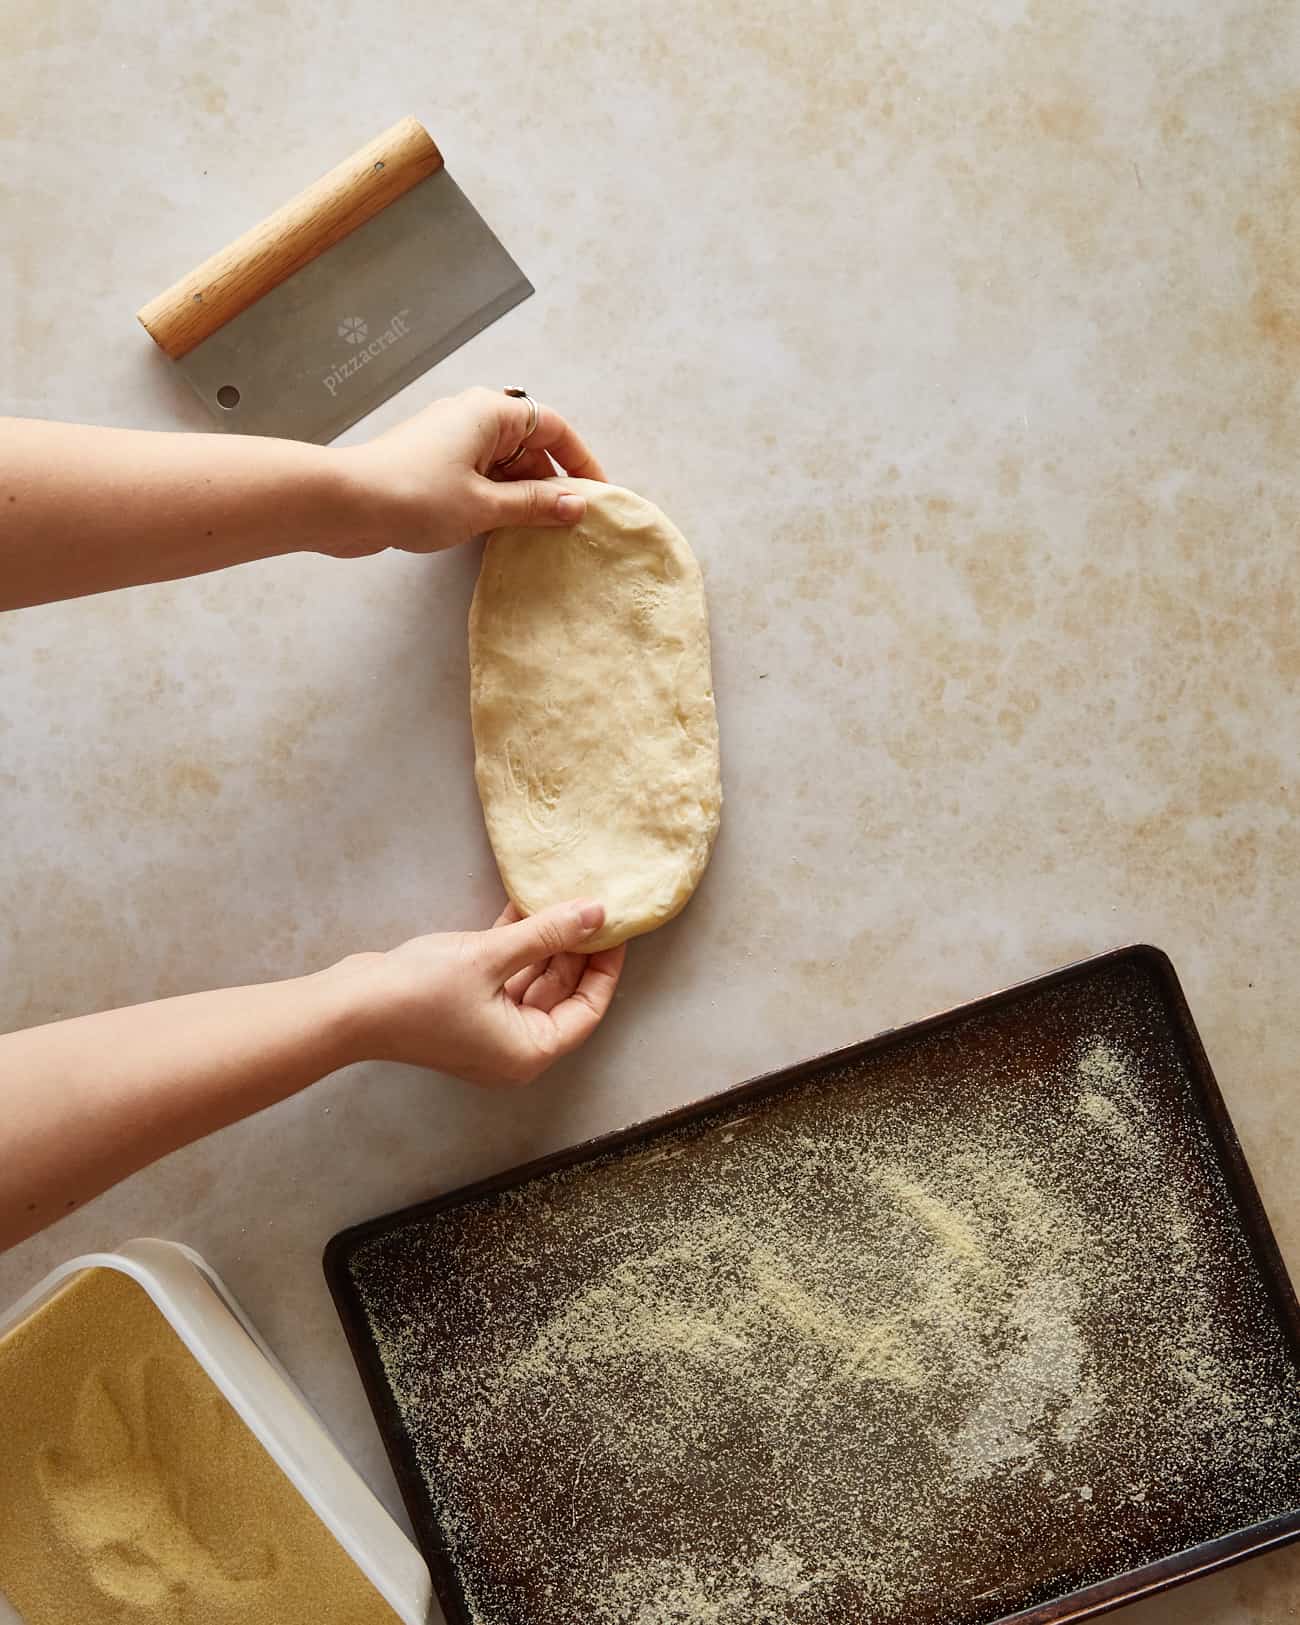
- Once the dough has rested, remove from the bag and place onto a completely clean, dry work surface. It’s super important that there is no flour on the work surface or else it will be really hard to roll out the pici!
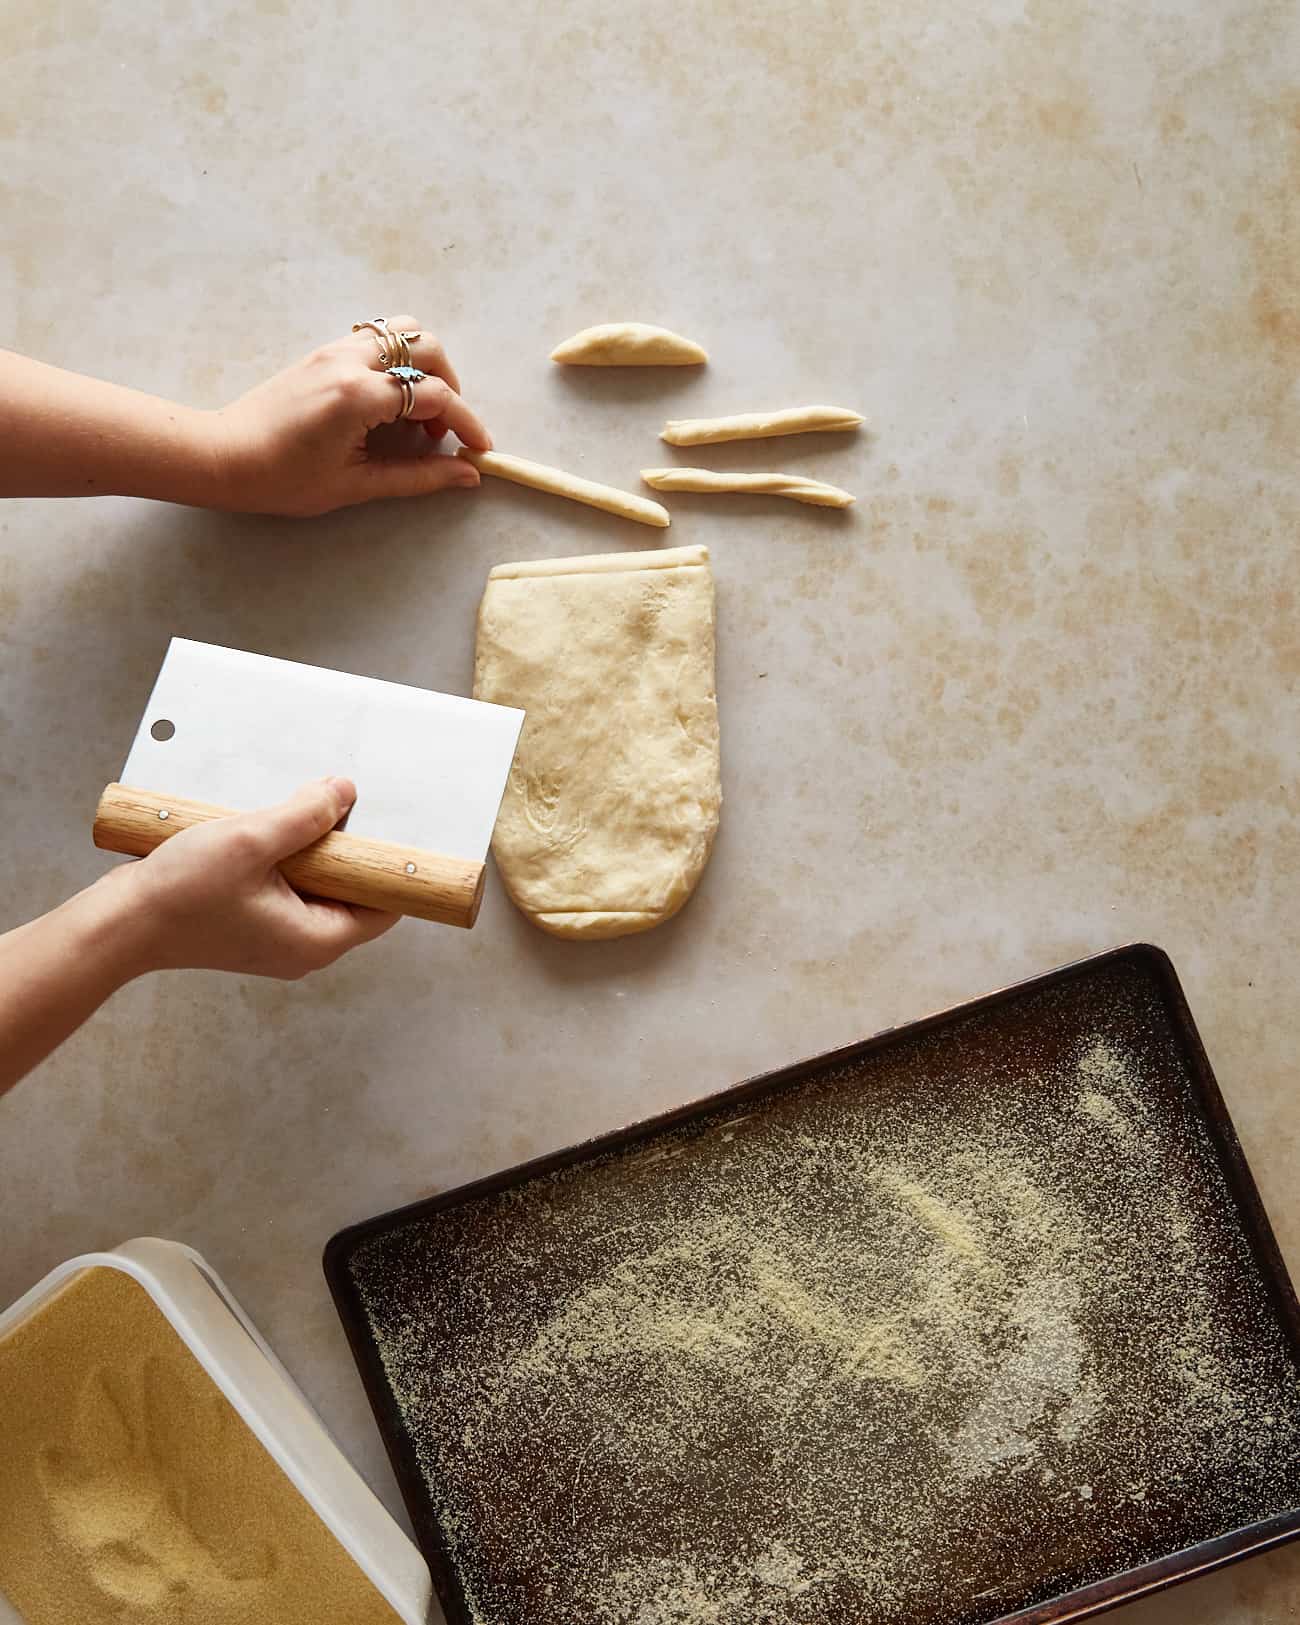
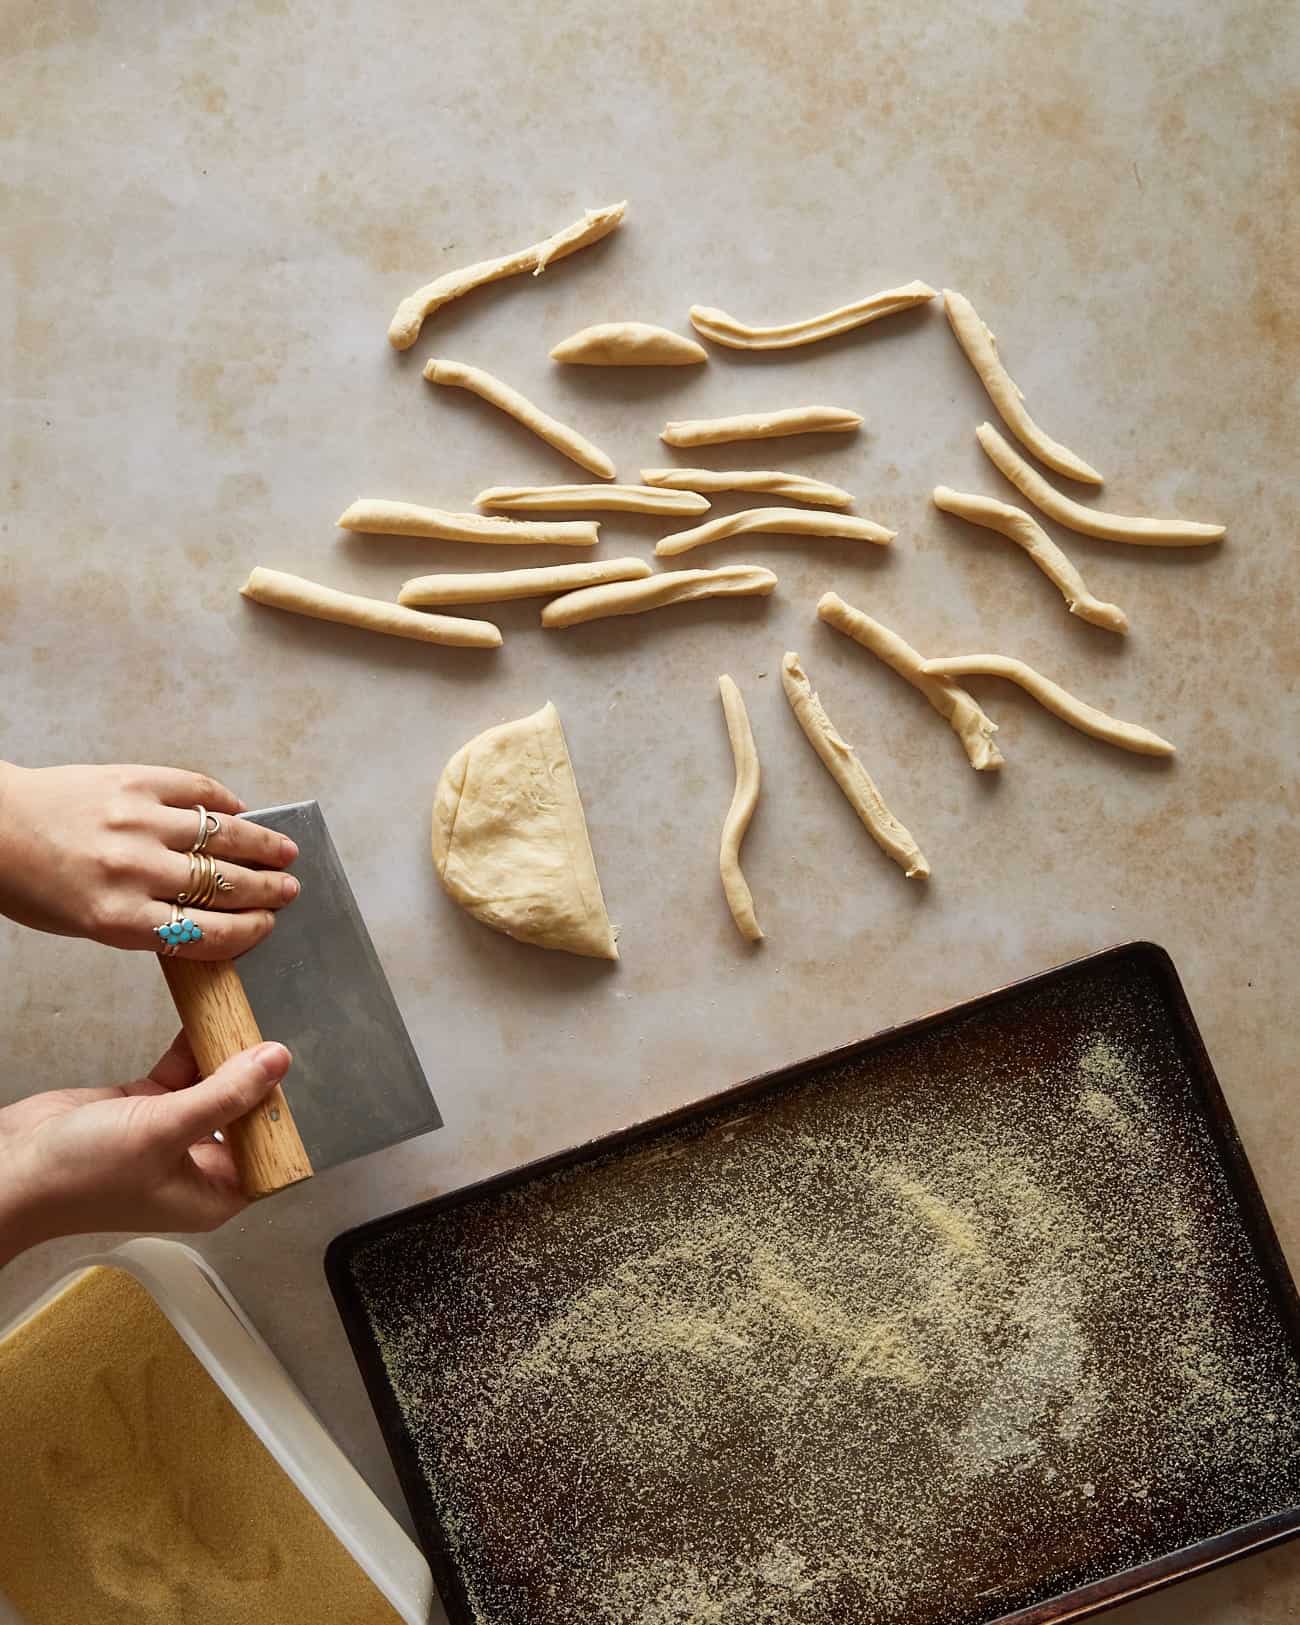
- Pat the dough out into a rectangle about 12 x 20 cm (5 x 8 inches). Use a bench scraper or a butter knife to cut strips of dough which are roughly 6mm (~1/4-inch) wide x 12cm long.
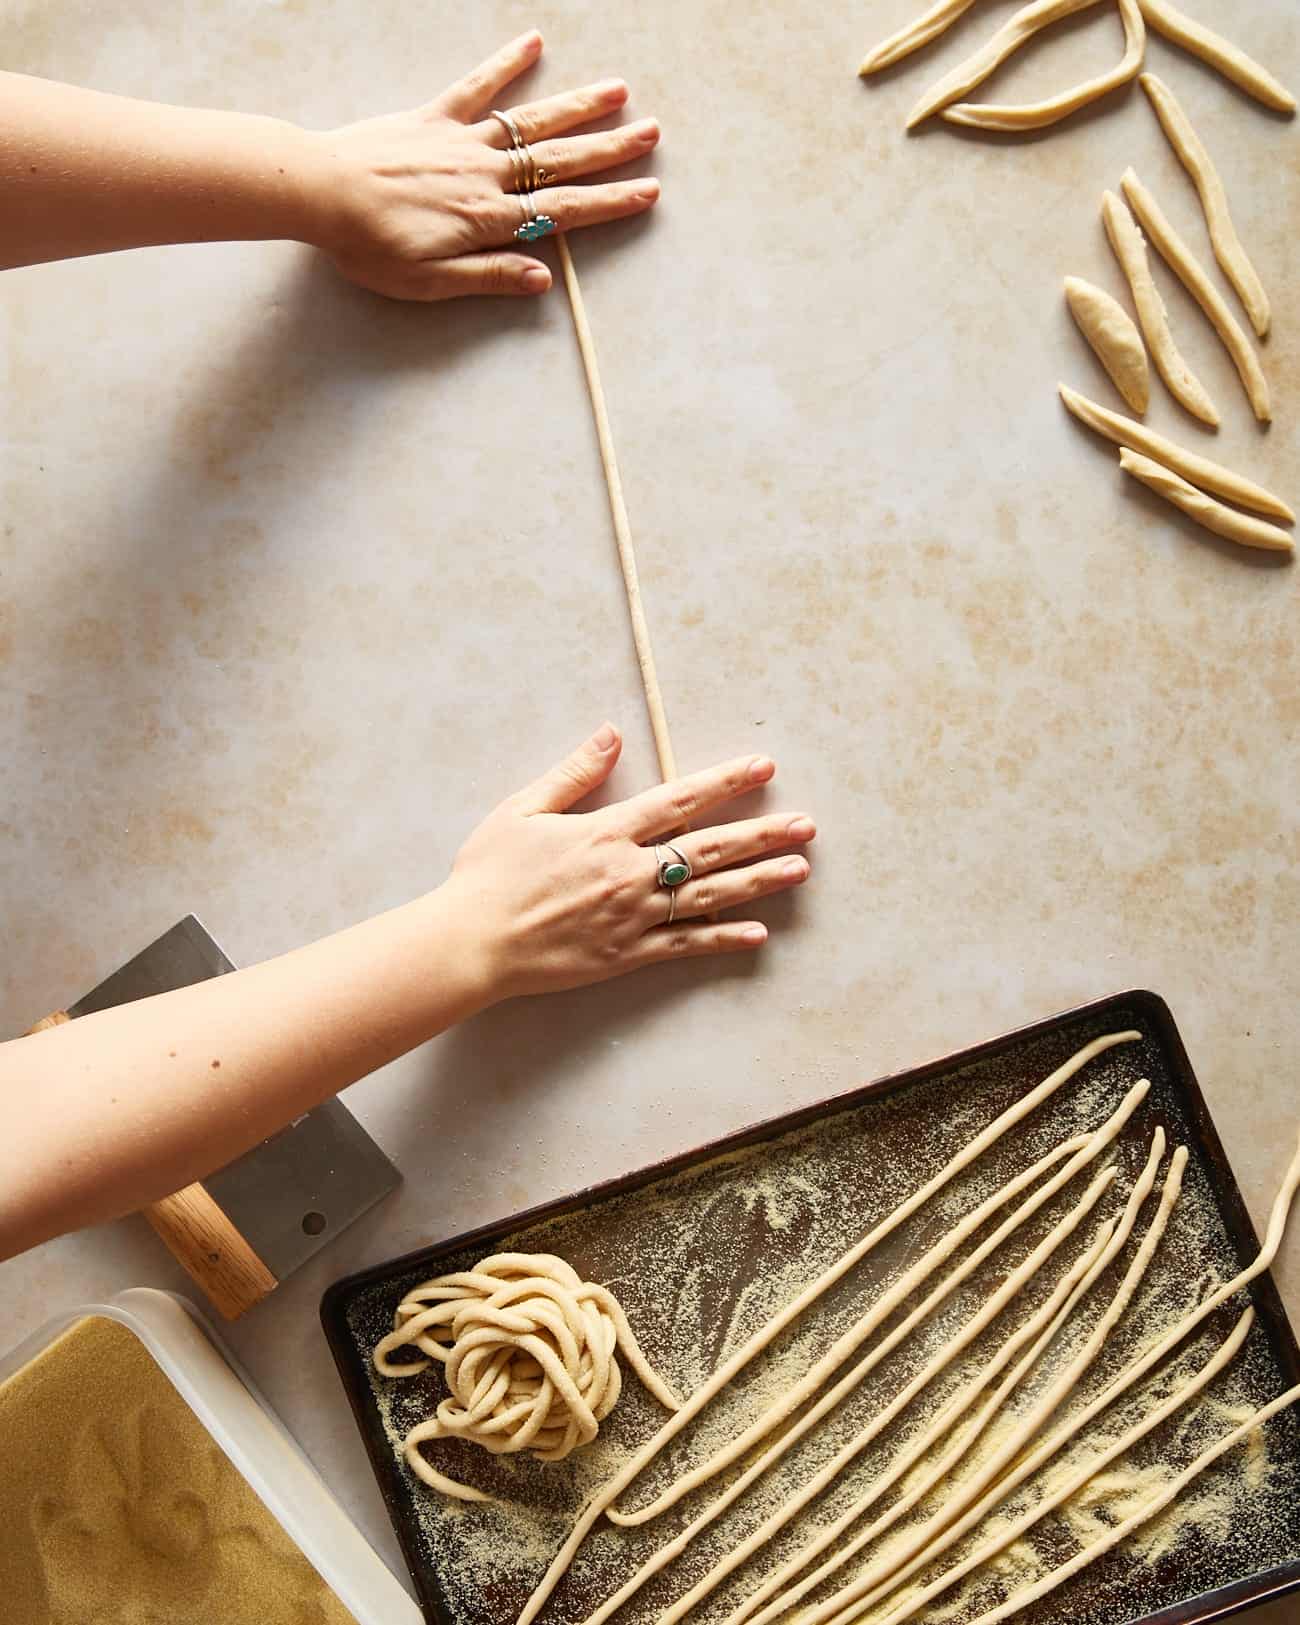
- Use your hands, pressing lightly on a strip of dough to roll out into a long worm shape. I like to start with both my hands at the centre of the strip and work outwards whilst rolling back and forth and applying light pressure. Roll until the worm is about 3 to 4mm (~1/8-inch) thick.
- Dust a rimmed baking tray with semolina or a light coating of plain white flour. Pick up the dough worm and place onto the sheet.
- Ensure there is no flour/semolina residue on your hands and continue to roll out the remaining strips of dough, placing the worms on the baking sheet.
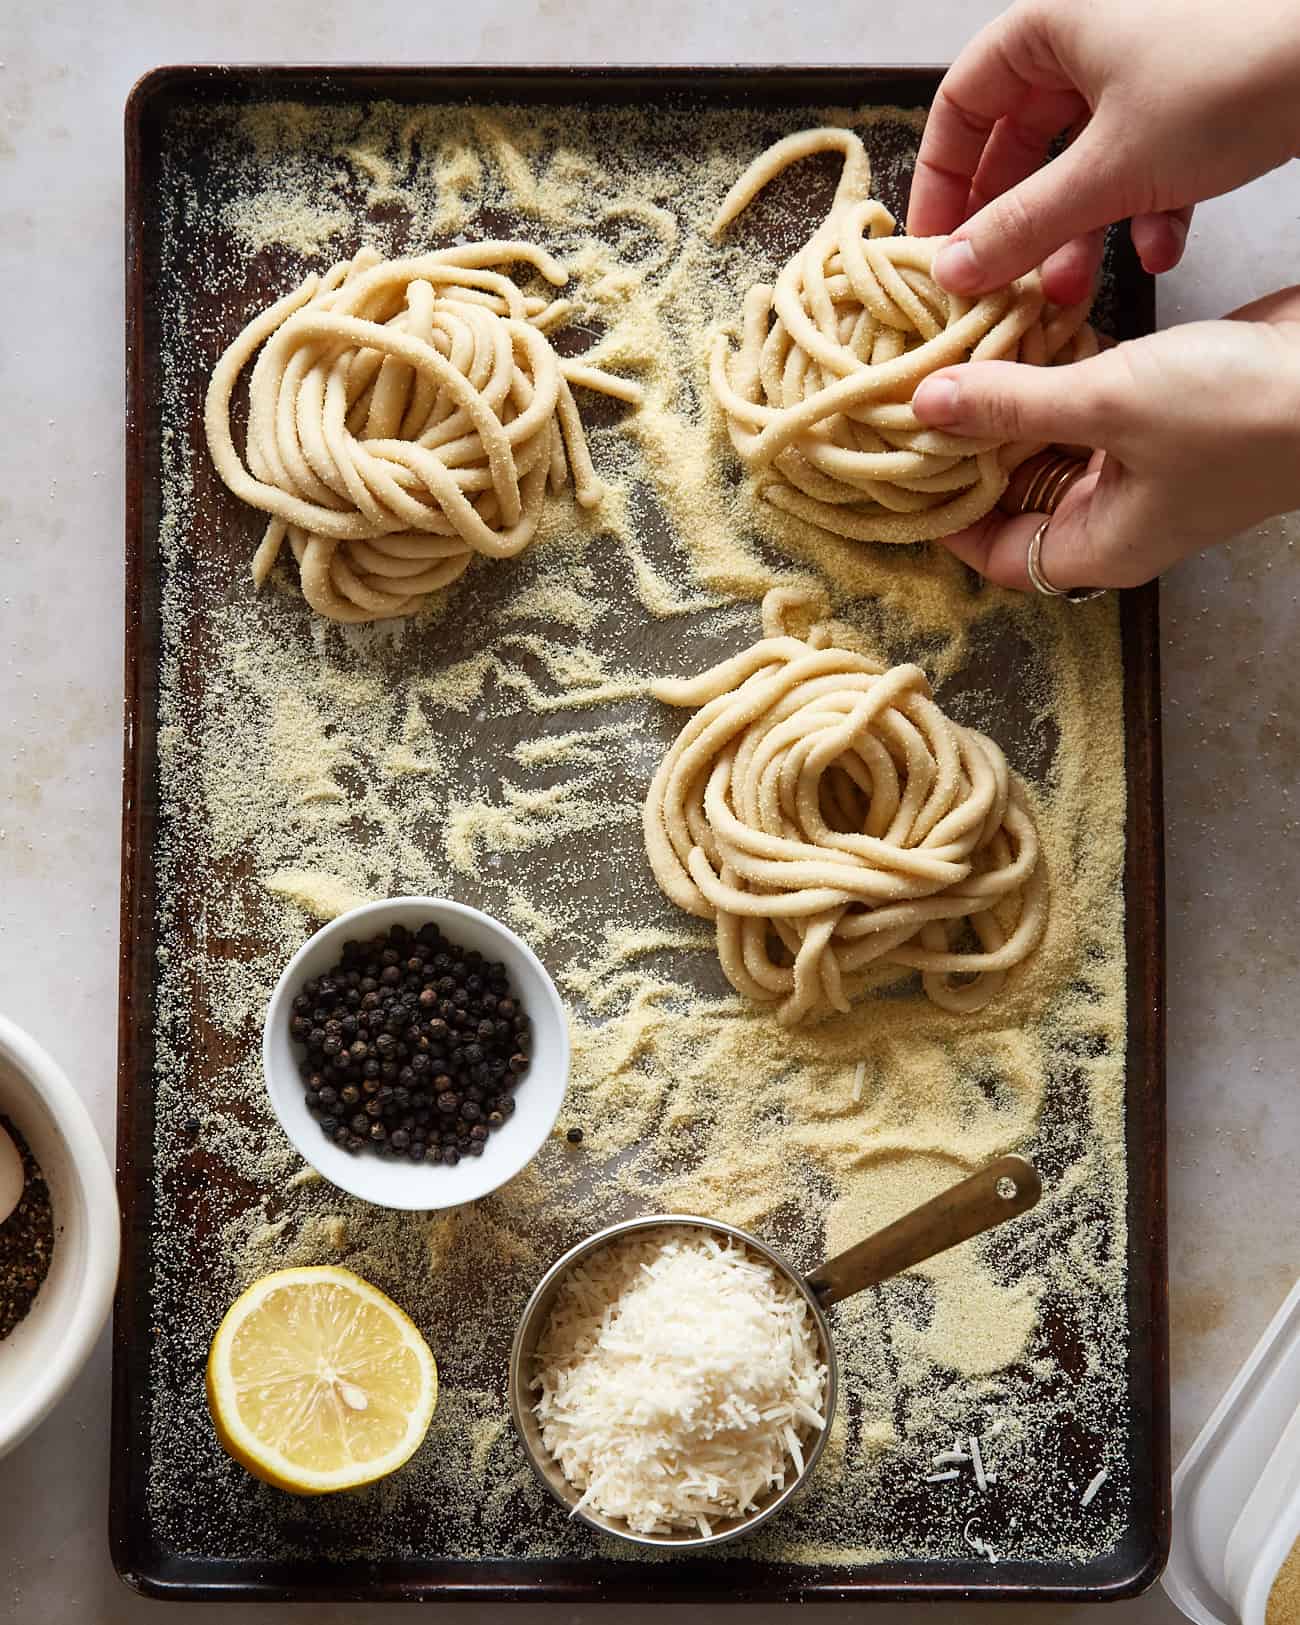
- Once your tray has been filled with worms of dough, dust these with some more semolina/plain flour and then gently gather a handful of them, lift them up and wrap them around the fingertips of one hand, forming a little bundle of around 10 worms. Place this bundle onto the tray.
- Continue making worms (and forming nests, as needed) until you’ve shaped all the dough.
- Set aside for up to 20 minutes. If you let these sit for longer you risk them drying out and starting to clump together.
Bring it all together:
- Grate your Pecorino or Parmesan cheese and set that aside. Bash the peppercorns in a pestle and mortar (or use a pepper grinder to grind them up) and set those aside too. Have all your other ingredients measured and to hand (except the pasta water as that isn’t ready yet).
- Bring a large pot of well-salted water to the boil on the stove.
- Grab a large frying pan and add the lemon juice, butter and black pepper. Place over a medium heat on the stove.
- Gently unravel the pici nests and drop into the boiling pot of water – keep the heat here on max until the water comes back to a simmer and set a timer for 5 minutes. Stir gently occasionally to make sure they don't stick together.
- Once the pici have been cooking for about 3 minutes, scoop out 160ml (2/3 cup) of that starchy pasta water from the pot they're cooking in. Pour this into the frying pan of butter and turn the heat on the pan down to medium low.
- Once the 5 minutes of cooking time is up, use tongs to lift the pici into the frying pan of the pasta water-butter mixture. Sprinkle the grated cheese in an even layer over all of the pasta in the pan. Now this is the key moment – you can't stir this yet!! You have to leave this to cook over a medium-low heat for a couple of minutes. You want the cheese to start melting before you stir it together otherwise it will clump. So, leave it to cook and you'll notice that the cheese starts to melt at the edges first and gradually melts more and more towards the centre of the pan. Once the cheese in the centre is just starting to turn translucent/melty, you can toss the mixture together (I like to use tongs for this).
- Let bubble for 1 to 2 minutes more, stirring occasionally, to let the sauce thicken up a bit.
- Once the sauce looks thickened but still kind of runny, remove from the heat and divide between two bowls. Serve ASAP! Enjoy!


Not sure if I have the patience to make Pasta by hand but you sure do make it look easy. Pepper and lemon. Sounds wonderful. The simplicity and the elegance of it is rather captivating. This sure would be an interesting meal activity for date night on Valentines day. A bonding experience so to speak. I would rather have the Pecorino cheese (I like salty but maybe it is too much), but nice to see it works with Parmesan.
I promise it is the easiest homemade pasta shape ever!! It looks kind of daunting/time consuming but if you can roll play-dough out into a worm shape, you CAN make pici! 😀
I fell in love with pick on a bike tour in Tuscany ten years ago. Haven’t had it since but that is about to change. Today is my anniversary, tomorrow a daughter’s family with two little boys are coming and will be here for Valentines Day. This is THE perfect meal for my trifecta of important events! Thank you!
Wow, a bike tour of Tuscany sounds AMAZING! Yesss I’m sure you’ll love how easy it is to make the pici noodles. And you can have them with all kinds of sauce – I love it in a simple tomato sauce too 🙂
…and auto correct…?. But you know I meant pici!
I made this for four people. The dough was very easy to work with and it only took 20min to roll out the pici. It was so much fun and everyone loved it. I made a taleggio cheese sauce because that’s what I had and served it with garlic sautéed chard on the site.
I made this tonight and as a beginner cook I was happy with how easy and detailed your directions were and how yummy it turned out! One question my nests started to unravel when in put them in the boiling water…are they supposed to stay nests until the end?
Yess glad to hear it! And yes, the nests are meant to unravel into individual noodles when they’re cooked 🙂
Hi Izzy,
I’d love to make this but only have 00 pasta flour in the flat. Would this work?
Thanks!
Yes that will be perfect!
Similar to the above comment but would this work with just plain flour? Can’t find bread flour anywhere atm!
Yes you can! They’ll just be a bit less chewy
Hi Izy, I’ve never made pasta before. Made the dough today and it was dry and flaky so added more water. By the end of 10 minutes kneading it was still in pieces. Have I don’t something wrong? Any tips would be appreciated. Thank you ?
Hi Marina,
It can be down to a variety of things – the type of flour you’re using, the humidity of the air, elevation you live at and accurate measuring of the ingredients. I’m in the UK so I can obviously only test using my environment which is why it can be down to a number of things! Did you weigh the water/flour? It can sometimes just be down to using volume instead of weight as volume is a less accurate way to measure things (I just have those measurements there for people who only have cups!). It’s most likely down to the type of flour you’re using as different flours absorb different amounts of water. If a dough looks like its too dry, it’s definitely okay to add a bit more water, maybe 1-2 teaspoons at a time, until it seems right! The dough may look a little rough but definitely not patchy/flaky. Another thing is resting the dough -letting it sit in the fridge for that hour lets the flour hydrate properly so even if it goes in seeming a little too firm and dry, it’ll come out being softer and smoother!